
Get ready for Thanksgiving with this footprint turkey craft! These colorful turkeys are a fun craft to make with little ones this fall – they’re cute to make on their own or you can also use them as décor in a handful of different ways!
RELATED: Handprint Turkey
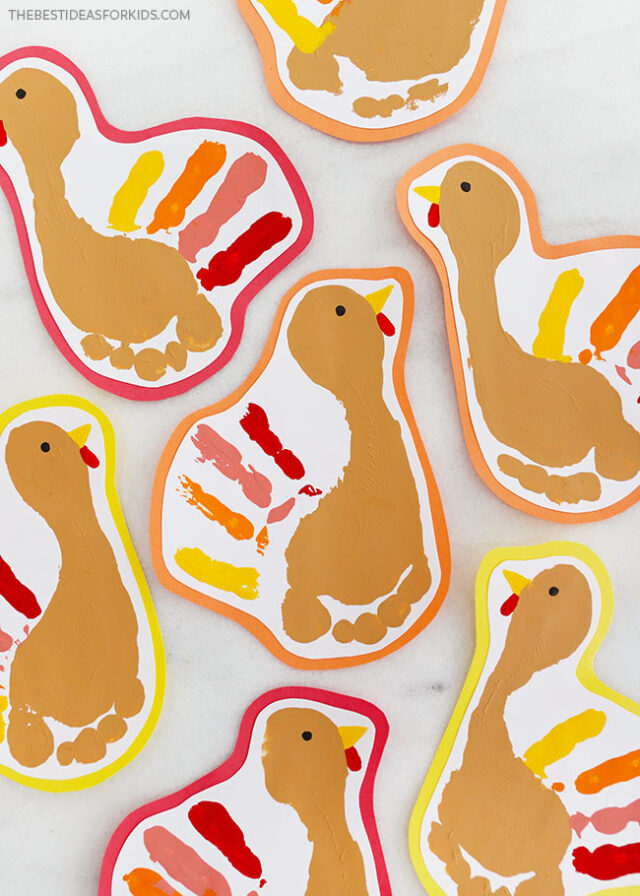

Footprint Turkey Craft
Make a whole bunch of these turkeys and use them as playful place cards for your Thanksgiving table – just write each person’s name on the turkey’s body.
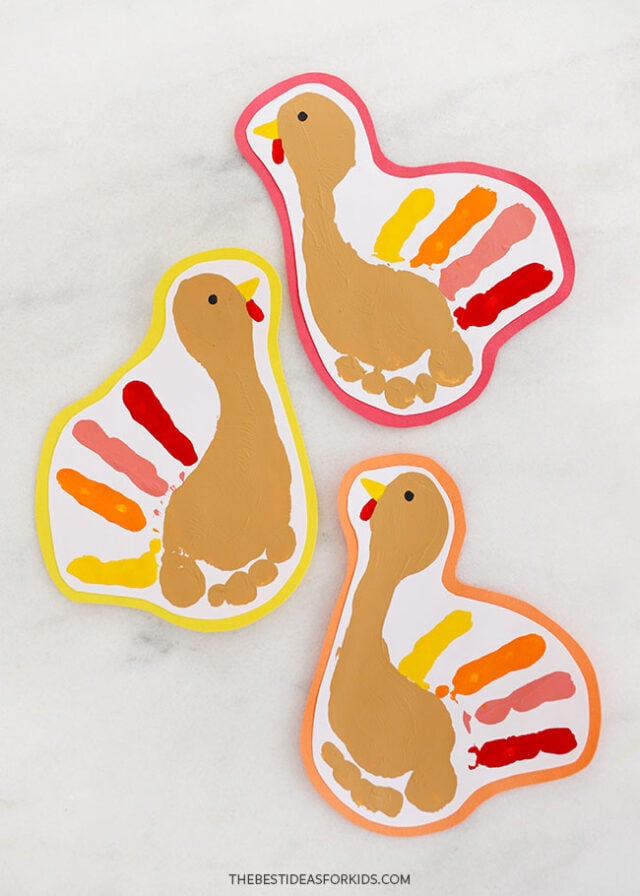

Or, grab some string and tape and turn them into a fun garland to hang from the walls! However you use them to decorate, they’re sure to add a fun pop of color this Thanksgiving season.
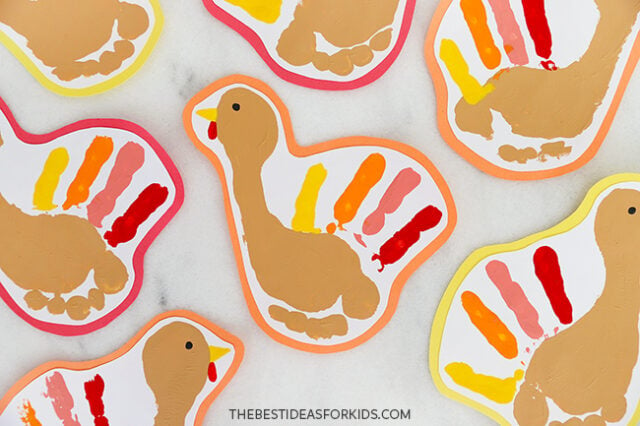

Supplies Needed
- Tempera paint – light brown, red, pink, orange, and yellow
- Paintbrushes – medium for stamping and fine for the face details
- White cardstock – for stamping the turkey onto
- Colored paper – red, orange, and/or yellow to glue the turkey onto
- Scissors
- White glue – or a glue stick, to attach the turkey onto the colored paper

Watch the Video Tutorial
How to Make a Footprint Turkey
1. Make the turkey’s body.
Before you begin stamping, prepare your space: gather white cardstock, paint and the paintbrushes.
Have a large bowl or dish of soapy water, some rags, or baby wipes on hand. We find making footprint art is easiest when the child sits on a low stool and you have the paper ready to stamp on the floor.
Once you’re set up, apply light brown non-toxic tempera paint onto the bottom of your child’s foot. Gently guide their foot to the cardstock and make a footprint in the middle of the page.
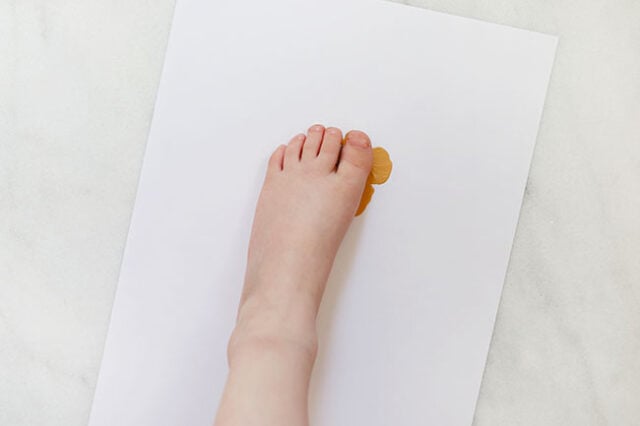

Remove their foot and repeat as many times for each footprint you want to make. When done, help your child wash their feet with warm, soapy water. Let the footprints dry before beginning the next step.
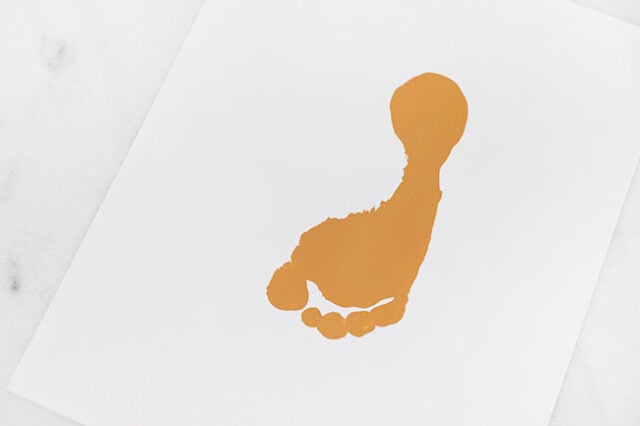

2. Stamp the turkey tail.
The turkey’s tail is stamped with your child’s hand. Apply non-toxic tempera paint onto your child’s four fingers: red, pink, orange, and yellow on each finger – leave the thumb unpainted.
You can also do one finger at a time if that’s easier.
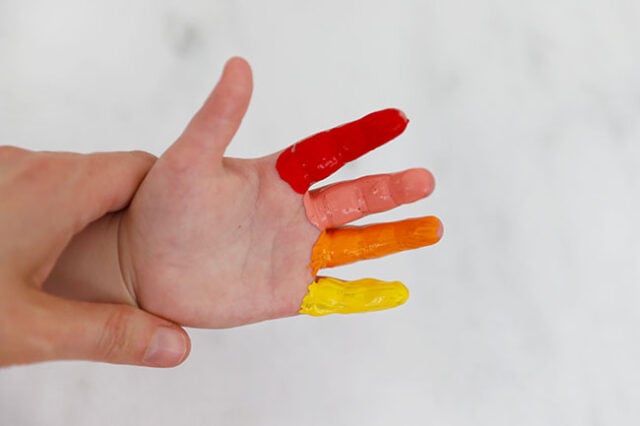

Guide your child’s hand onto the paper – the base of their fingers should be next to the ball of their foot, on the big toe side.
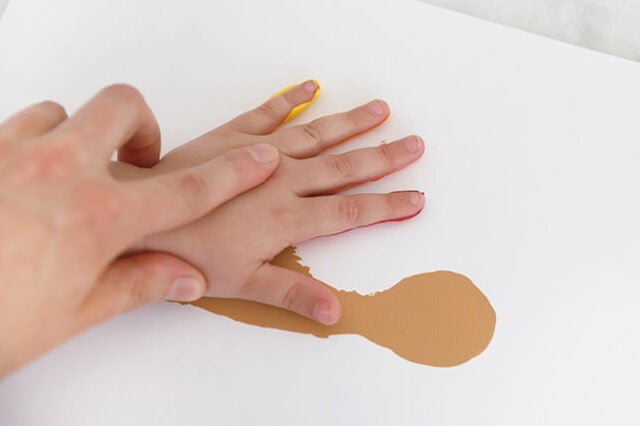

Gently remove their hand and repeat for the remaining footprints. When done, wash their hands with warm, soapy water.
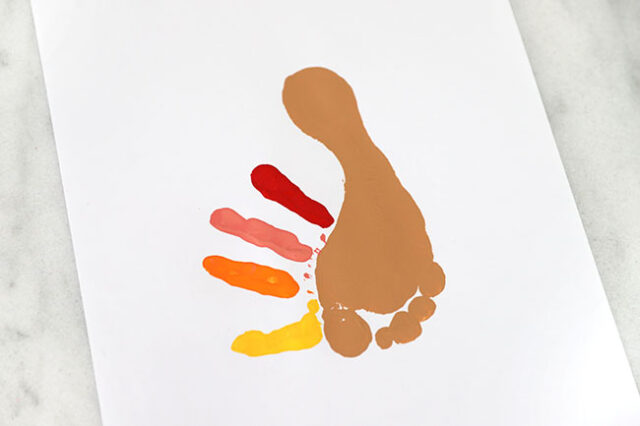

3. Paint the face details.
Use fine paintbrushes to add a small eye with black paint, a yellow triangle beak, and a red teardrop-shape under the beak (the wattle). Set the painted turkeys aside to dry completely.
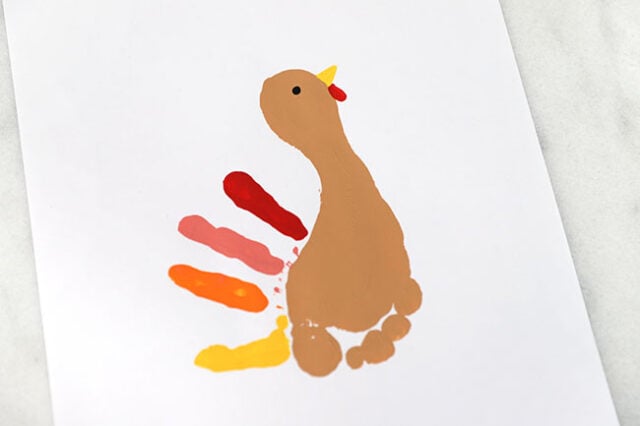

4. Glue the turkey onto colored paper.
Use scissors to cut around the painted turkeys, leaving a space of about 1/4″ around the edges.
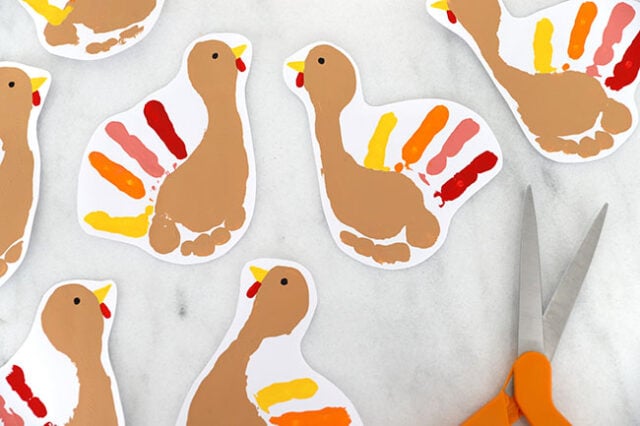

Apply glue to the back of the painted turkey. Then press the turkey onto colored paper – we used yellow, orange, and red paper.
Allow to dry. If you find that the paper starts to curl, place a heavy book on top to help keep it flat. Do not use too much white glue or the glue may bubble underneath the paper. It’s better to brush the glue on in a thin layer or use a glue stick.
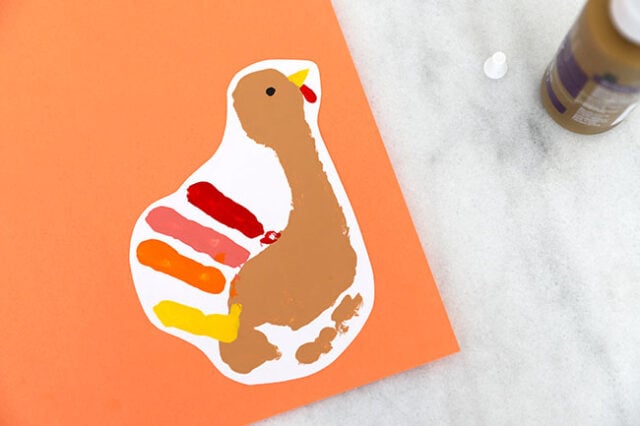

Use scissors to cut around the turkey, leaving about 1/4″ of an orange border.
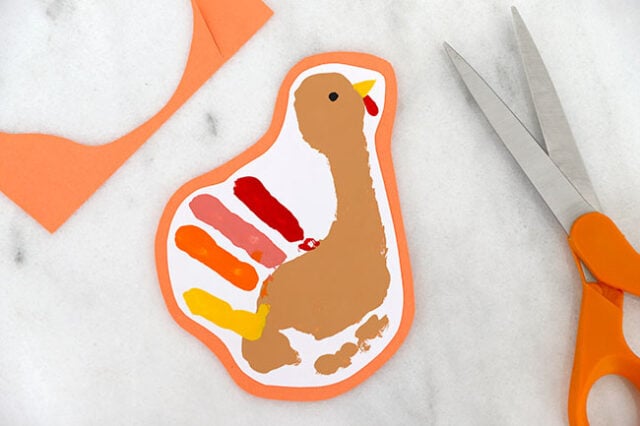

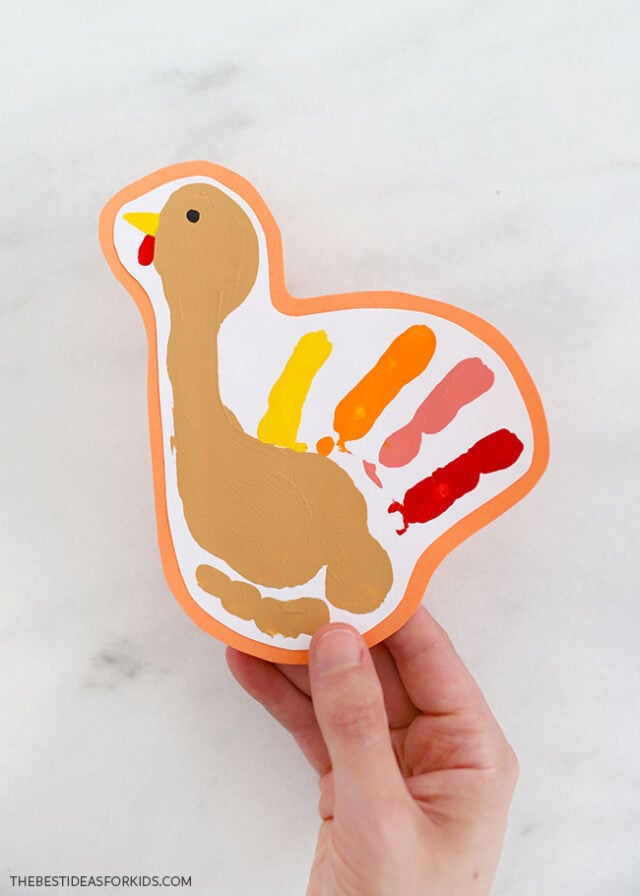
Your footprint turkeys are now complete! These make great keepsakes or can be put together to make a banner or added to a Thanksgiving card.
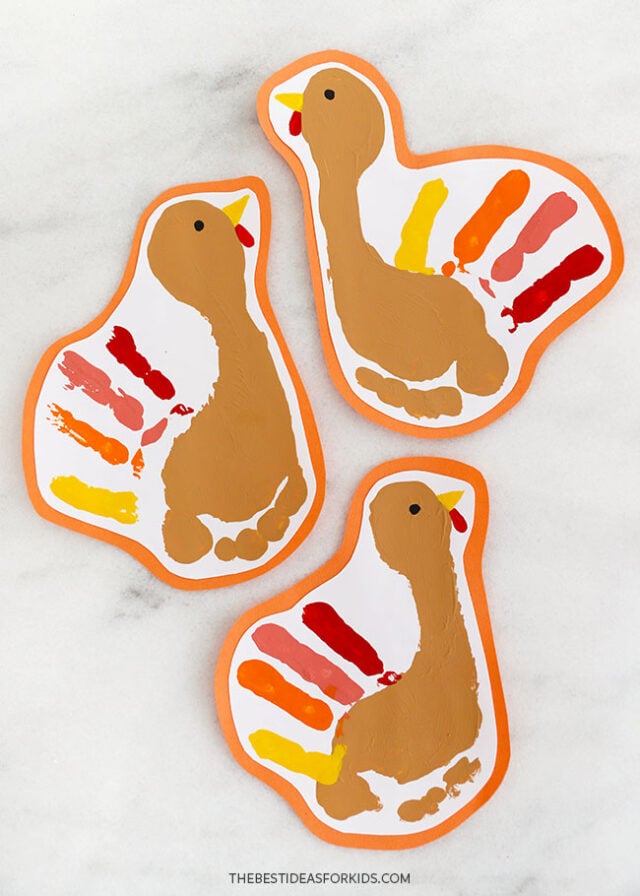

Don’t forget to write your child’s name and the date on the back of the turkey!
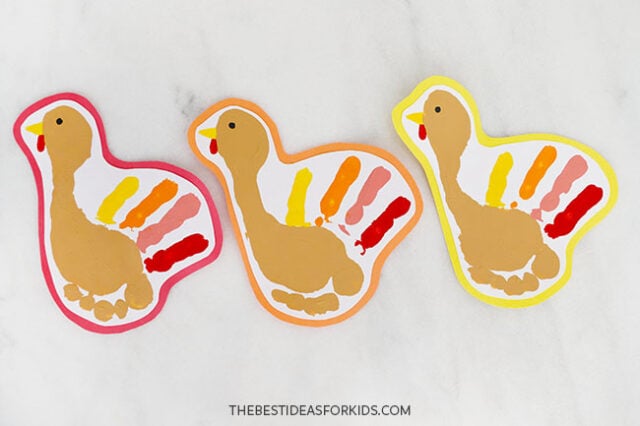

See more turkey crafts and activities:


