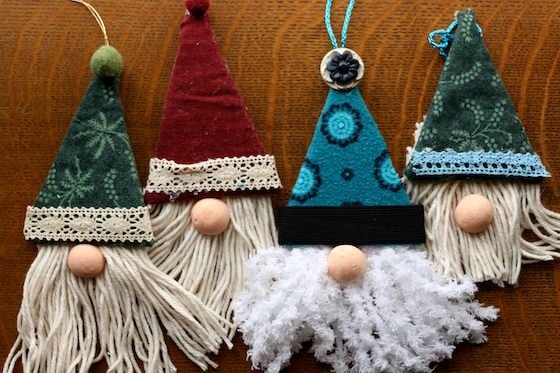
If you’re looking for a terrific Christmas craft for teens and tweens to make, these gnome ornaments are easy and adorable and can be made in about 30 minutes.
I have the sweetest gnome craft to share with you today! I had the older hooligans over for a craft day on Sunday and we made a ton of really awesome crafts and ornaments. I’ll be sharing them all with you this week, but I wanted to start with this adorable gnome ornament. It was the biggest hit of the day with my gang.
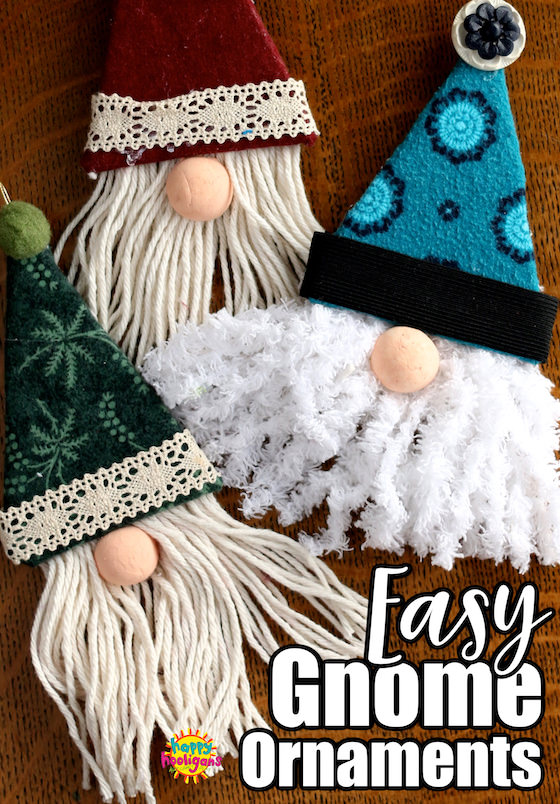

The kids loved going through our scraps of fabric, lace and trim to select the pieces for their gnome hats, and they got a lot of glue gun practice in, as that’s how we put the entire ornament together.
Gnomes weren’t even on my radar when I was planning the projects for our craft day, but I had a bunch of cardboard triangles leftover from our “Stained glass” Christmas tree ornaments, and I was thinking about how we could make something else with them. It occurred to me that they would make great gnome hats.
I experimented by making one of my own, and I was so excited with how it turned out! I just knew the girls would love making them. They’re SO DARN CUTE!
See how to use the same process to make our Easy Santa Ornaments and Easy Halloween Witches.
The supply list is minimal too! I’ll show you how we made them.
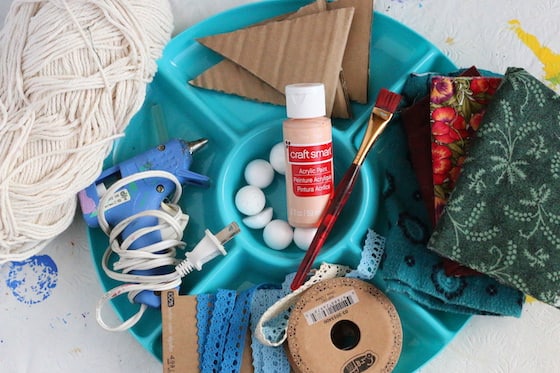

Supplies for Gnome Ornaments:
- cardboard triangle
- scraps of fabric and trim (lace, rick rack etc.)
- scissors
- button or pom pom
- small styrofoam ball cut in half (a pom pom would work too)
- yarn
- glue gun
- thread or yarn for hanging
Instructions:
Time needed: 30 minutes
Easy Gnome Ornaments for the Christmas Tree
- How to make your gnome’s hat
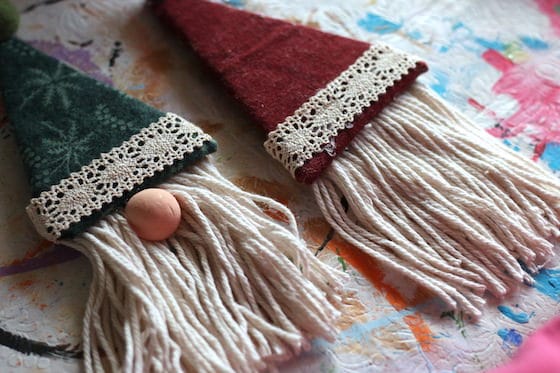
Cut a triangle out of a piece of cardboard and then cut out a piece of fabric slightly larger than the cardboard triangle. About a 1/2 bigger all the way around is good.
Lay the cardboard on the wrong side of the fabric. Fold the excess fabric to the back of the cardboard and glue in place with your glue gun.
- Making the beard
Loop a long length of yarn around your hand several times (10-20 times depending on the size of your ornament). Cut these loops in half, and then in half again. Glue the strands to the back of the cardboard.
Trim the beard to the length and shape that you want it.
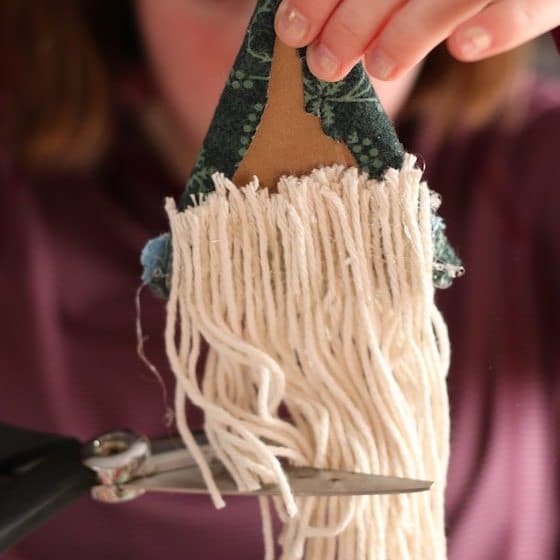

- Add trim
Glue a length of lace or rick-rack trim to the bottom of the gnome’s hat. If your trim is long enough, you can wrap it around the back of the cardboard and glue it overtop of those loose ends of yarn.
- The nose:
Cut a small styrofoam ball in half and paint it with flesh-coloured paint. When the paint has dried, glue the nose to the beard just below the edge of the hat.

- Add pom pom and hanging thread
Glue a decorative button or pom pom to the top of the hat, and add a loop of thread for hanging your ornament.
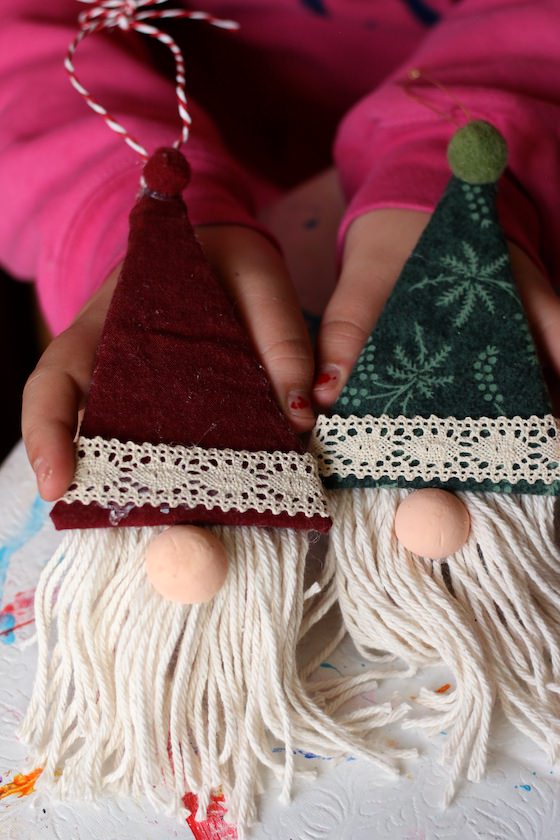

And that’s all there is to making these adorable gnomes. You’re all set to hang them on your Christmas tree!
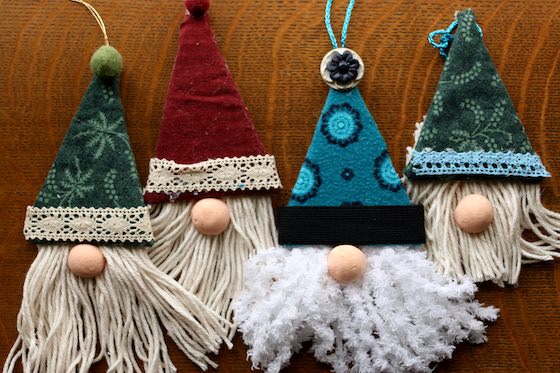

Aren’t they just the sweetest?
You may also like our:
Get the 3-5 Playful Preschool e-Book!
25+ Preschool activities by 25 bloggers, 10 printables, PLUS 50 links to activities not featured in the book.
Click here to download your copy today
Follow the Hooligans on Facebook!


Jackie is a mom, wife, home daycare provider, and the creative spirit behind Happy Hooligans. She specializes in kids’ crafts and activities, easy recipes, and parenting. She began blogging in 2011, and today, Happy Hooligans inspires more than 2 million parents, caregivers and Early Years Professionals all over the globe.


