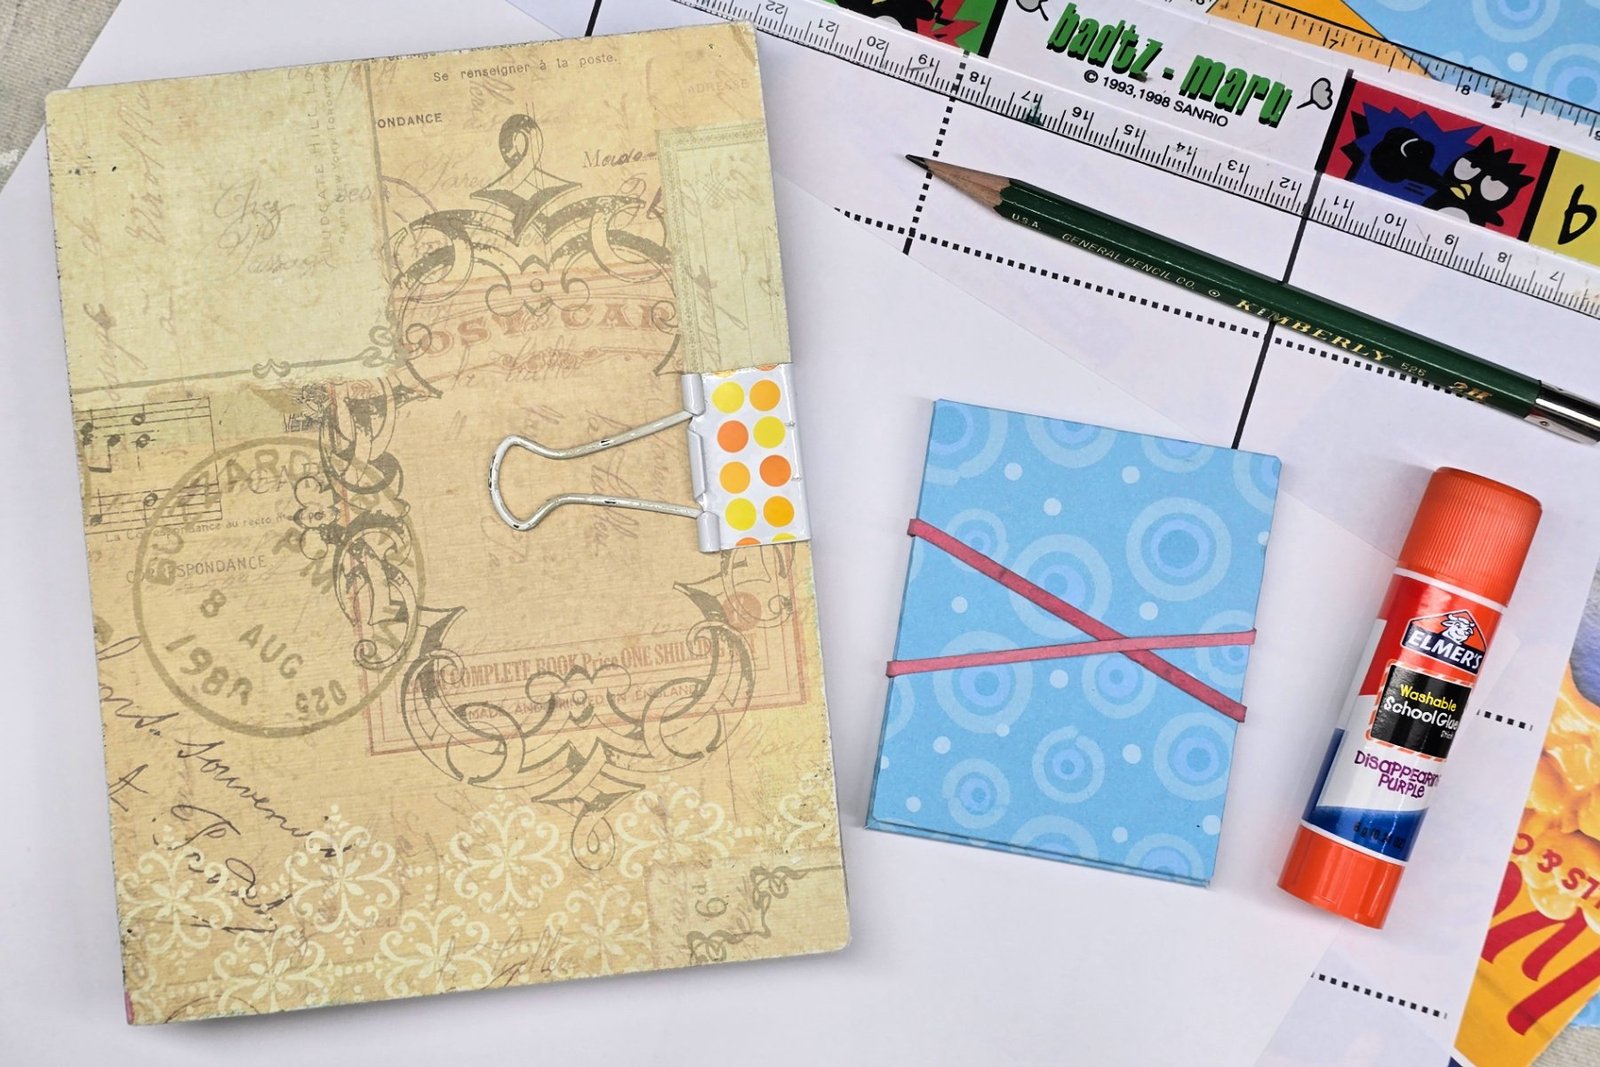
School-aged kids will learn to make an accordion sketchbook in this fun project. We’ve included a free printable template to make this lesson easy for home or classroom use.
Why Make A Sketchbook?
Artists may choose to create their own sketchbooks for many reasons, including: The freedom to create any size sketchbook, their choice of paper quality and binding, ability to combine multiple types of paper within one book, and so on!
Related: Try another easy method for making your own sketchbook!
Supplies Needed to Make An Accordion Sketchbook Art Project

- Paper – Preferably 18×24 Inches, But Any Size Will Work
- Scissors
Optional:
- Printable Template – Download Below
- Thin Cardboard – Such as Food Packaging
- Colored Paper
- Glue
- Ruler
- Binder Clip, Rubber Band, or String – To Keep Sketchbook Closed When Not In Use
Download the Accordion Sketchbook Printable Template Here
Print this template to have on hand for a quick reference on how to fold and cut lines when making this accordion sketchbook. Simply fold along the dotted lines and cut along the solid lines.
Directions to Make an Accordion Sketchbook
Step 1

First, hold paper horizontally and fold in half. Crease. Unfold.
Step 2

Next, fold both the left and right edges of the page into center line. Crease. Unfold.
Step 3

Then, turn the page vertically and fold in half, crease, unfold.
Step 4

Next, fold both the left and right edges of the page into center line. Crease. Unfold. Paper should now be divided into 4 horizontal rows and 4 vertical columns.
Step 5

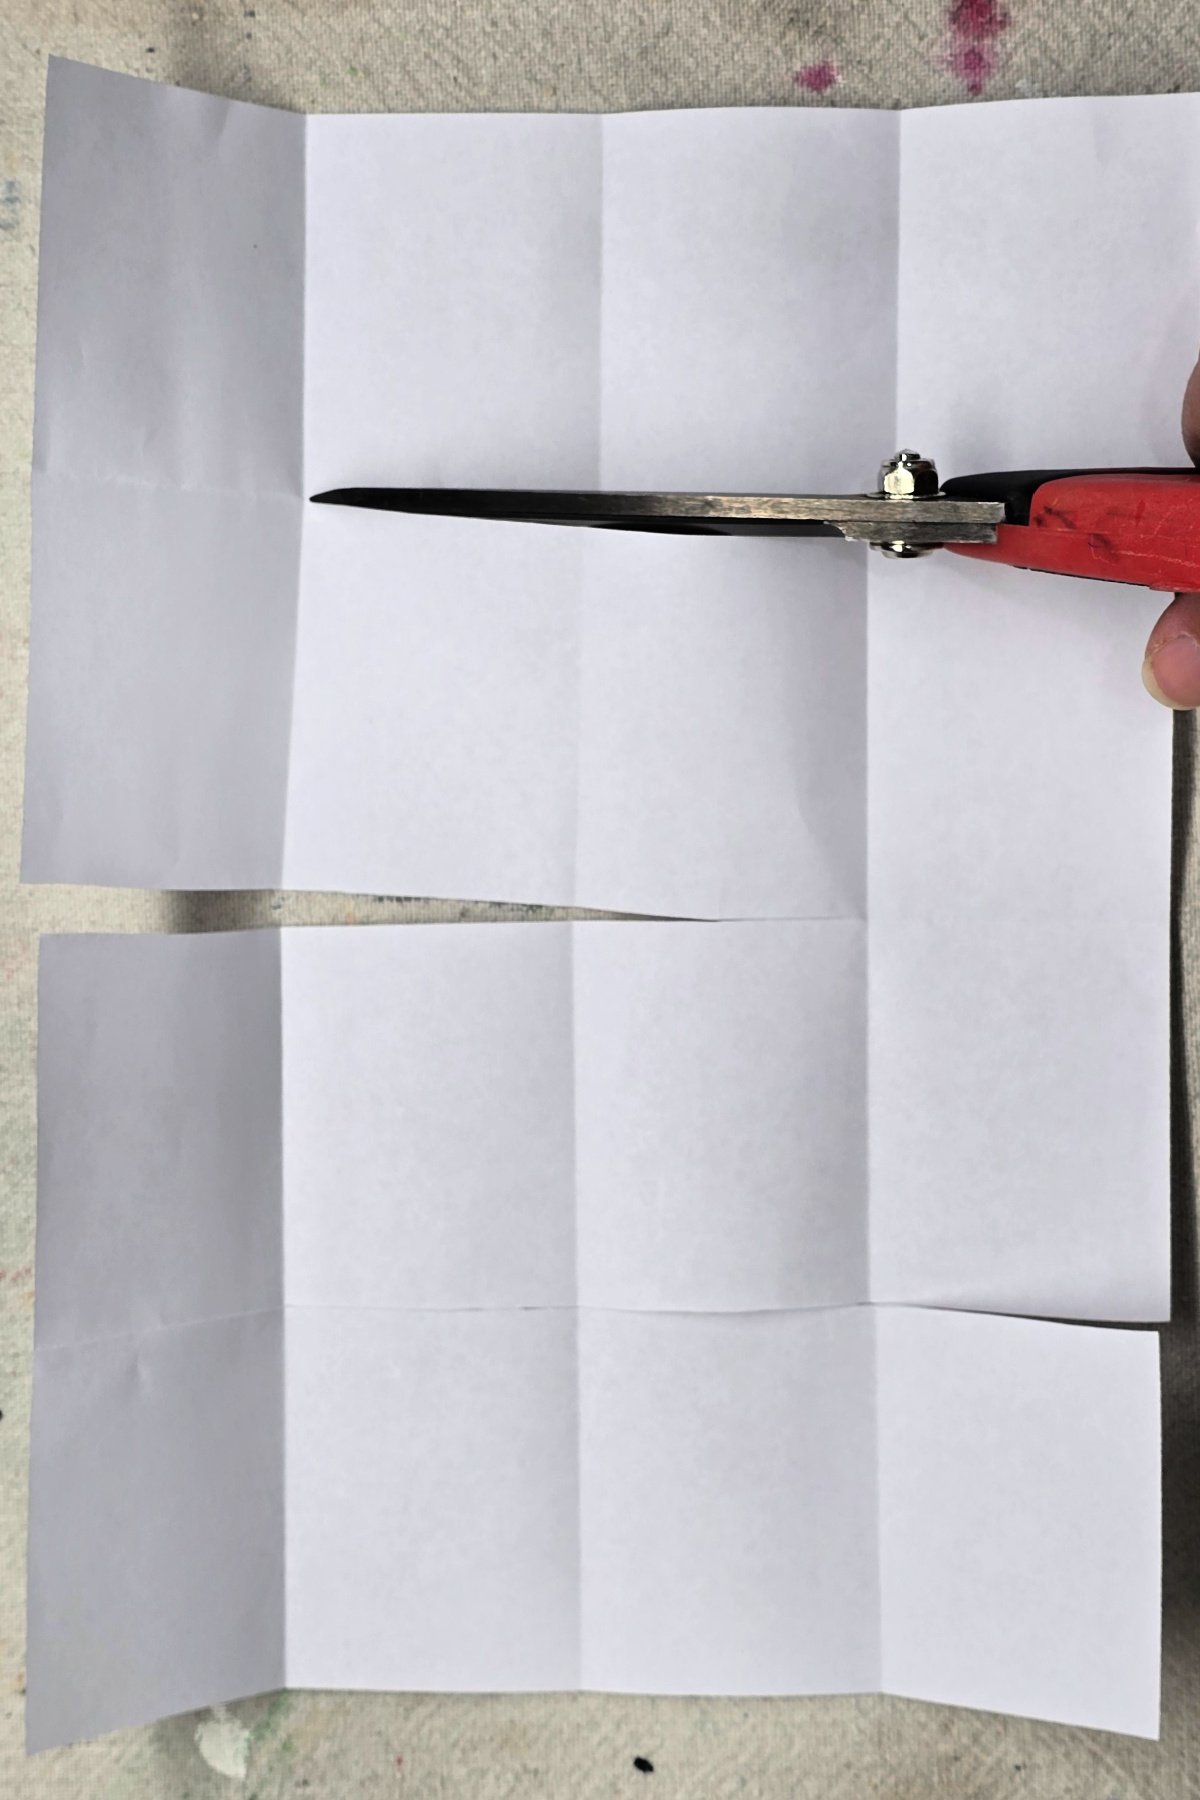
Following the first horizontal crease line, cut across 3 columns. This should leave the paper attached along the bottom of the folded 4th column.
Step 6

Starting from the opposite side of the page, cut along the next horizontal line, across 3 columns. Alternate and cut along the last horizontal line and 3 columns. If done correctly, you should be left with a long zig-zagged strip of paper.
Step 7

Next, refold along crease lines using an accordion, or fan fold. This technique alternates folds front to back and then back to front to complete your sketchbook pages.
Step 8

If desired, begin creating a cover for your accordion sketchbook. Cut 2 thin pieces of cardboard slightly larger than your folded sketchbook page. Also cut 2 pieces of colored paper slightly larger than the cardboard pieces.
Step 9

Then, glue colored paper onto cardboard. Trim edges of paper at a diagonal before folding and gluing excess paper to the underside of the cardboard. Finally, glue to attach one cover to each end of the sketchbook.
Finished Accordion Sketchbook Art Project

I love how easy it is to make my own Sketchbook! These projects are now ready to use which allows us freedom to create art anywhere!
Our Experience Making this Accordion Sketchbook Art Project
We love making these accordion sketchbooks! Our personal favorite paper to use for this project is an 18x24inch sheet of watercolor paper, which creates a 4.5x6inch accordion page. The thicker paper is a bit trickier to fold, but we love the freedom that it allows us with our supplies. Also, the sturdier paper makes it a bit easier to draw on the go when a firm surface isn’t always available.
Prep Time
5 minutes
Active Time
20 minutes
Total Time
25 minutes
Difficulty
Medium
Estimated Cost
$1
Materials
- Paper – Preferably 18×24 Inches, But Any Size Will Work
- Optional:
- Printable Template – Free Download
- Thin Cardboard – Such as Food Packaging
- Colored Paper
Tools
- Scissors
- Optional:
- Glue
- Ruler
- Binder Clip, Rubber Band, or String – To Keep Sketchbook Closed When Not In Use
Instructions
- Hold paper horizontally and fold in half. Crease. Unfold.
- Fold both the left and right edges of the page into center line. Crease. Unfold.
- Turn the page vertically and fold in half, crease, unfold.
- Fold both the left and right edges of the page into center line. Crease. Unfold. Paper should now be divided into 4 horizontal rows and 4 vertical columns.
- Follow the first horizontal crease line and cut across 3 columns. This should leave the paper attached along the bottom of the folded 4th column.
- Start from the opposite side of the page and cut along the next horizontal line, across 3 columns. Alternate and cut along the last horizontal line and 3 columns. If done correctly, you should be left with a long zig-zagged strip of paper.
- Refold along crease lines using an accordion, or fan fold. This technique alternates folds front to back and then back to front to complete your sketchbook pages.
- Optional: Begin creating a cover for your accordion sketchbook. Cut 2 thin pieces of cardboard slightly larger than your folded sketchbook page. Also cut 2 pieces of colored paper slightly larger than the cardboard pieces.
- Glue colored paper onto cardboard. Trim edges of paper at a diagonal before folding and gluing excess paper to the underside of the cardboard. Finally, glue to attach one cover to each end of the sketchbook.
Notes
Accordion Sketchbook Art Variations
- Use a heavier bodied paper for a sturdier book. Note: Using a thicker paper does make it a bit more difficult to fold and cut.
- Explore various sized paper to create sketchbooks in multiple sizes.
- Explore different types of binding and cover options to create different looks for your sketchbook.
Fill Your Sketchbook With These Fun Art Projects from Kids Activities Blog
Did your kids like making these accordion sketchbooks? What are they going to draw in it first?


![How to Make & Enjoy [Free Template]- Rock Your Homeschool](https://olivebabyshop.com/wp-content/uploads/2025/04/How-to-Make-Enjoy-Free-Template-Rock-Your-Homeschool-336x220.jpg)
