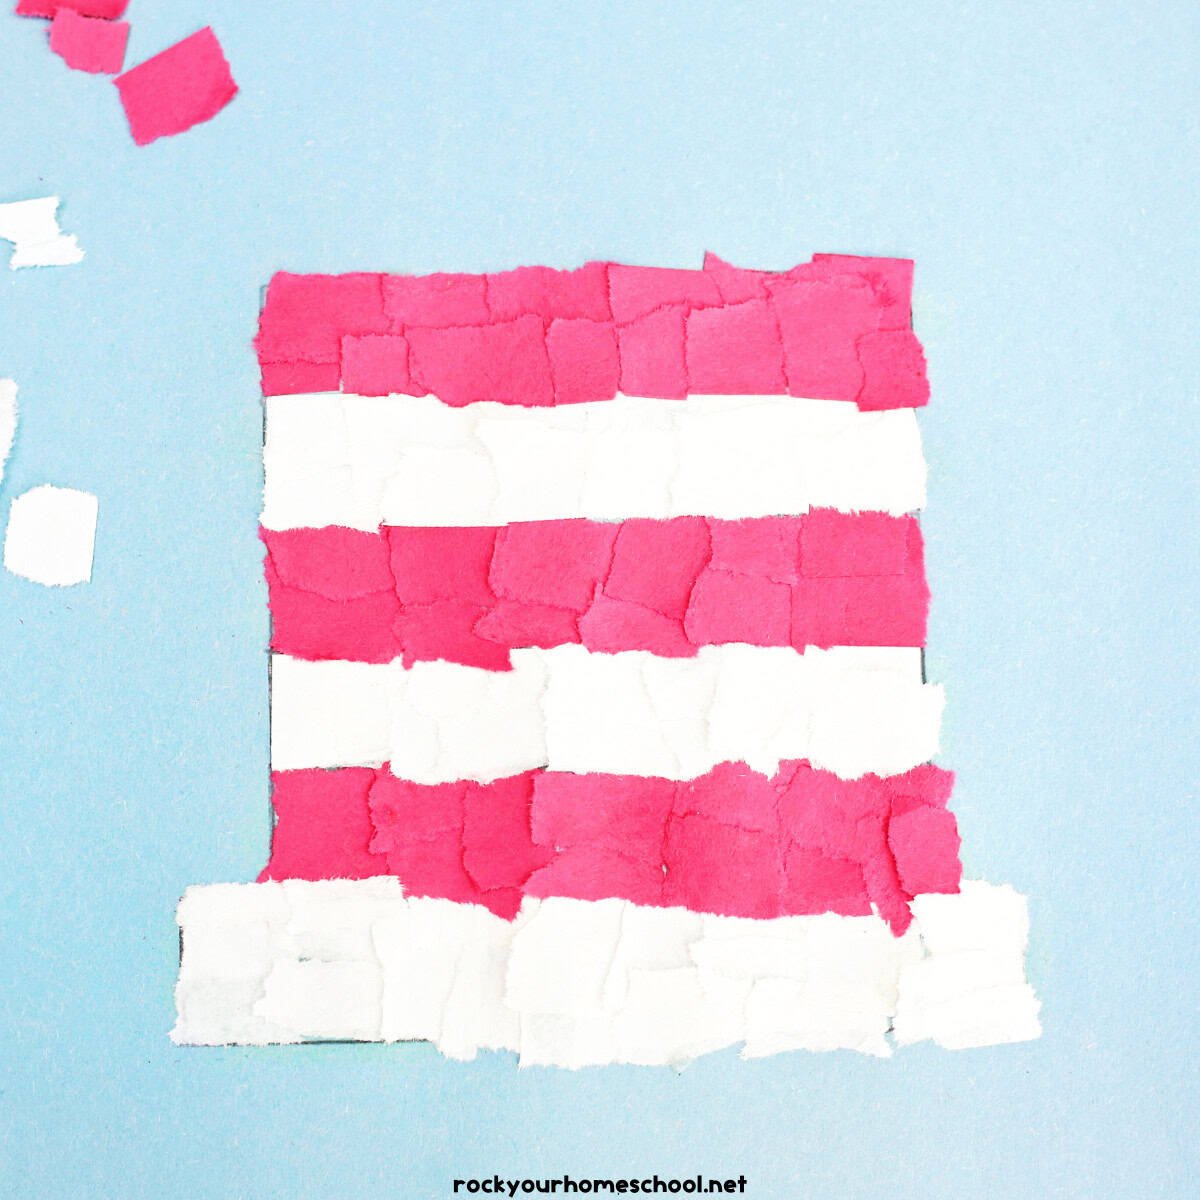
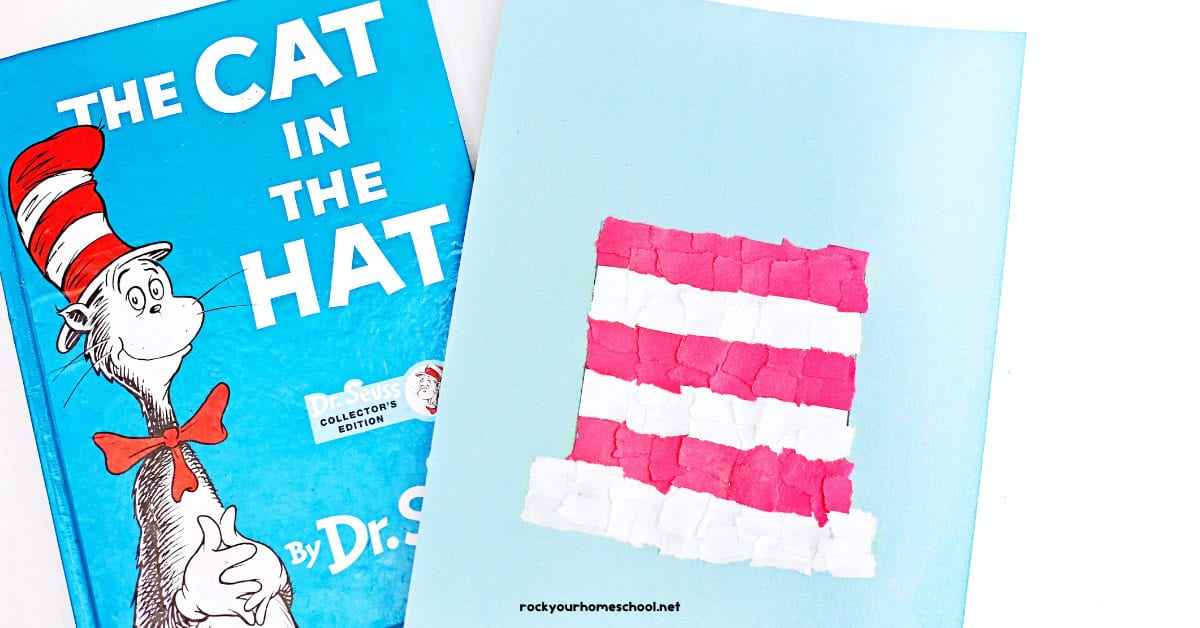
This Cat in the Hat craft makes Dr. Seuss fun with this classic book easy and enjoyable.
With just two supplies (and the free printable templates), your young learners can create their own hats just like The Cat wears. Pair with frugal activity with reading the story, watching the movie, celebrating Dr. Seuss Day, and more.
Use my creative ideas and tips to make the most of this experience with Dr. Seuss crafts. Oh, and I have an easy-to-follow tutorial, too. Get ready for some fantastic fun with The Cat in the Hat!
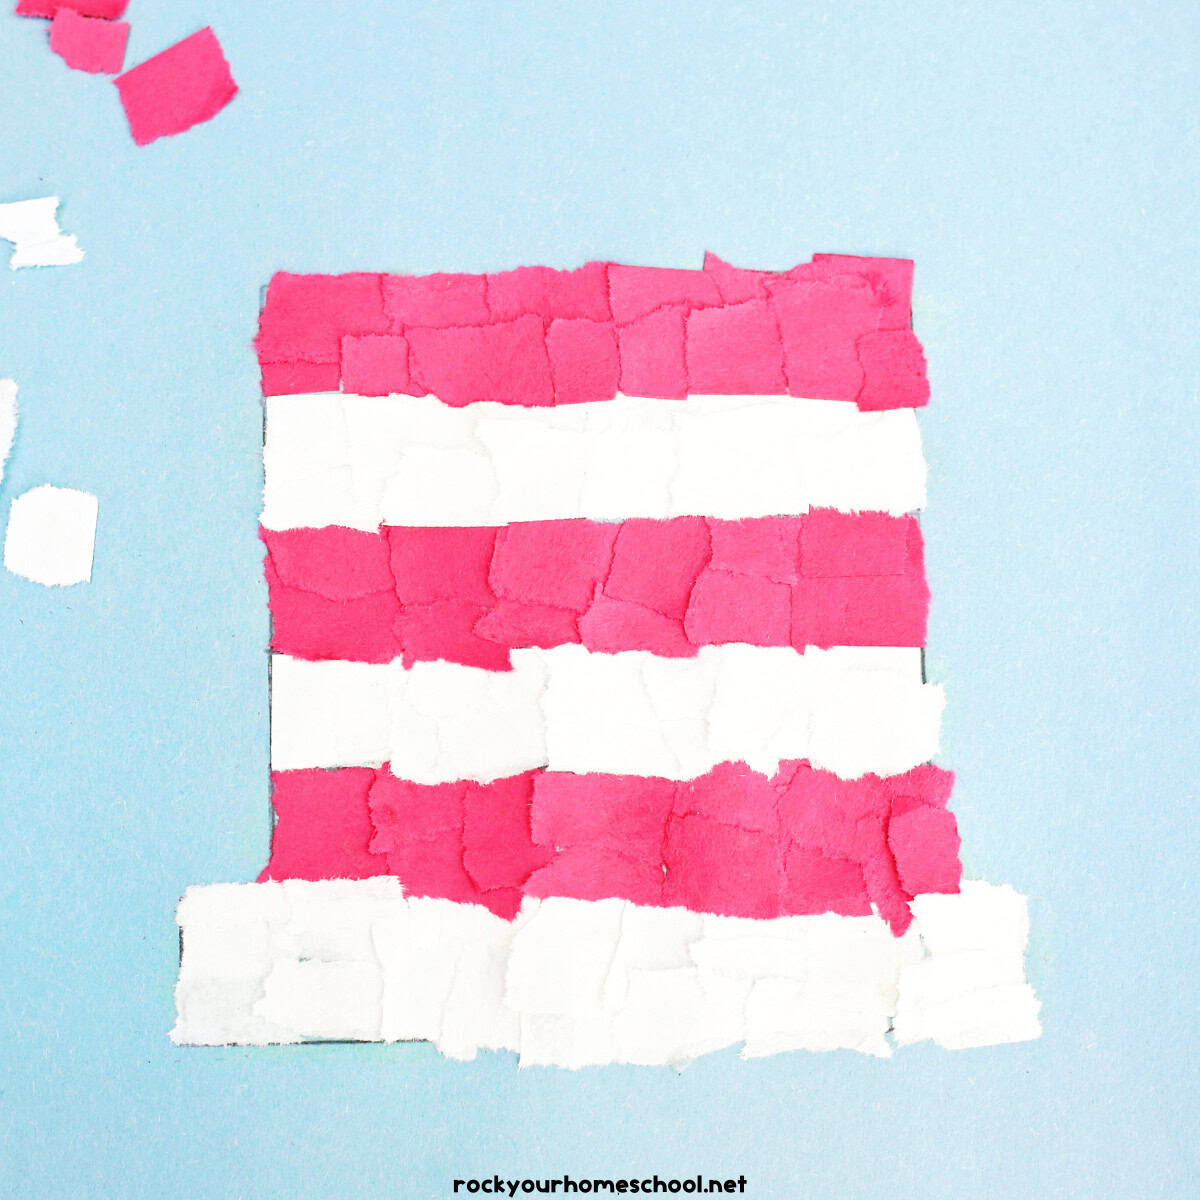

Hands-On Activity for The Cat in the Hat Fun
If you are looking for a frugal way to boost your celebration (for Dr. Seuss Day or Read Across America Week) , this simple craft is perfect!
It’s a great activity to add to this list of ideas to enjoy after reading The Cat in the Hat book by Dr. Seuss. You can use this craft to create DIY decorations for a party and creative art projects.
I used this classic book with my boys as part of the early years (toddler, preschool, and kindergarten) in our homeschool. All of my boys enjoyed the silly story. And I found it helpful when teaching them how to read!
One of the ways that I boosted learning in the homeschool early years was by pairing books with fun activities. I would find (or make) printables, songs, and crafts to extend our experiences. I found crafts, like this torn paper Cat in the Hat activity, to be excellent ways to reinforce concepts, practice important skills, and encourage us to keep talking about the book.
Suggested Supplies for This Dr. Seuss Craft
If you need simple, frugal, and very low-prep, you’re really going to love this craft. It only uses 2 supplies. And your students do all of the work!
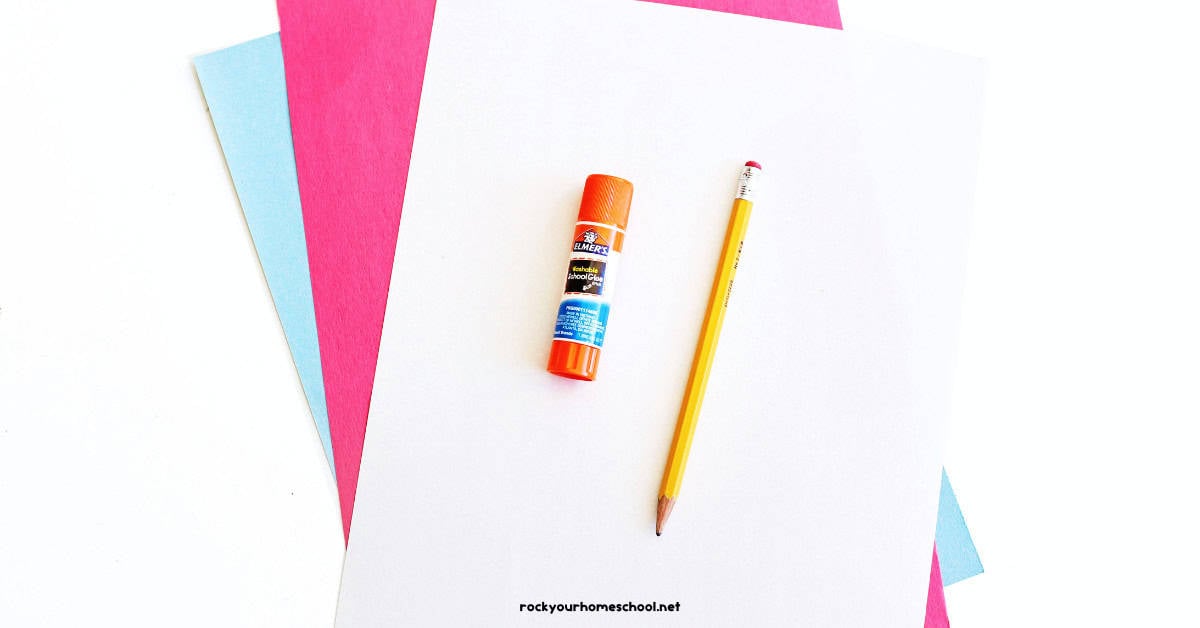
To get started, you will need:
- Light Blue, Red, and White Construction Paper
- Glue
- Pencil and ruler OR use my free printable striped hat templates (find at bottom of this post)

How to Make This Torn Paper Cat in the Hat Craft

01
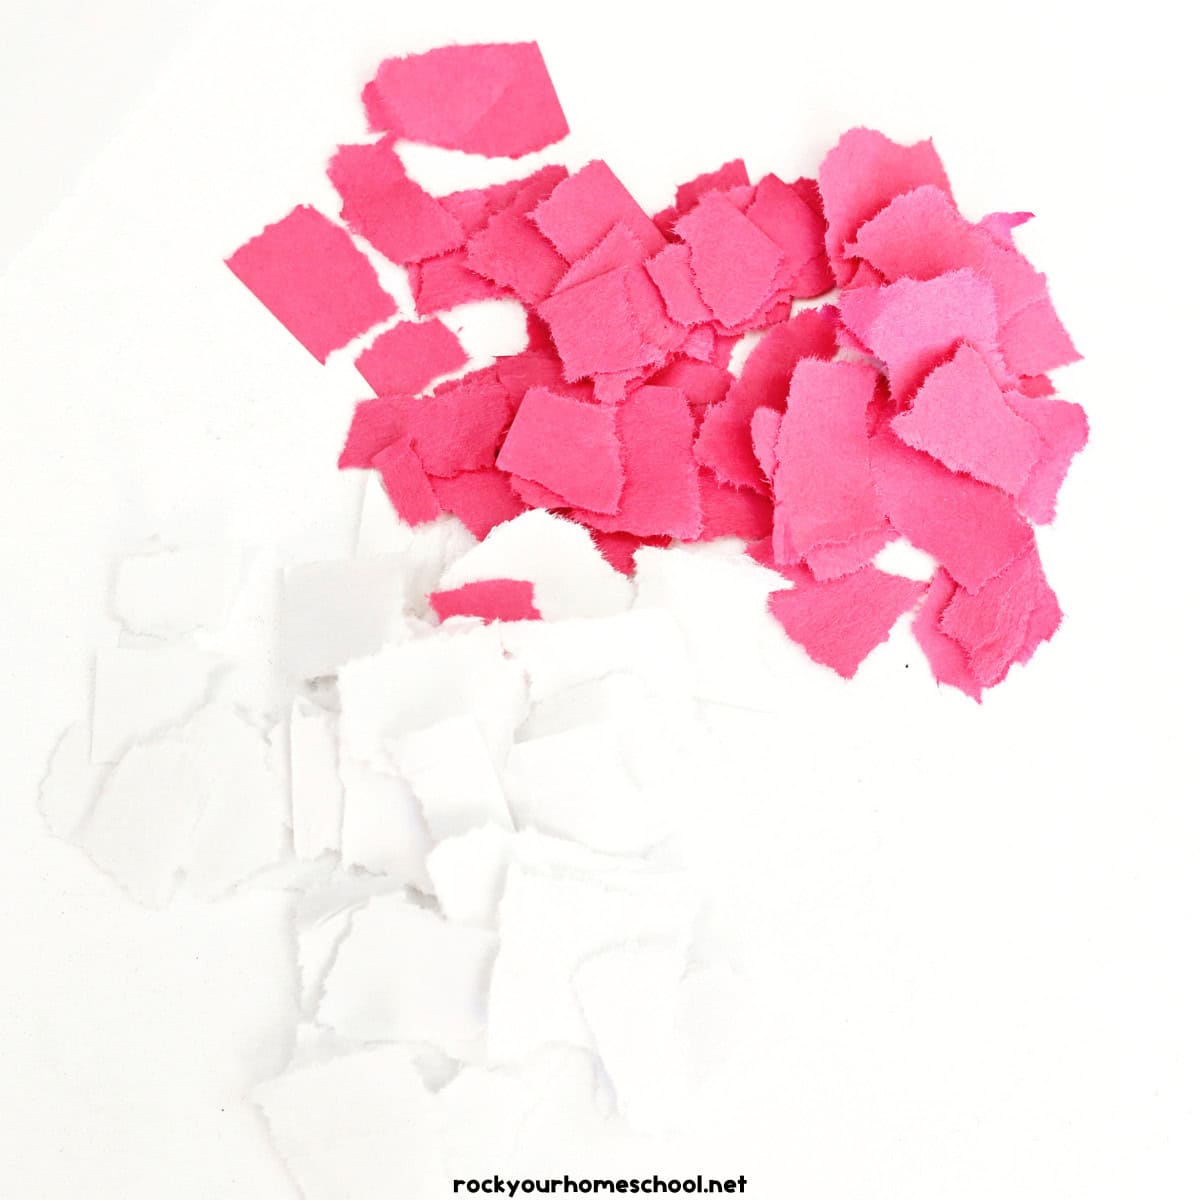
Prepare torn pieces of paper
Tear up bits of red and white paper into approximately 1-inch pieces.

02
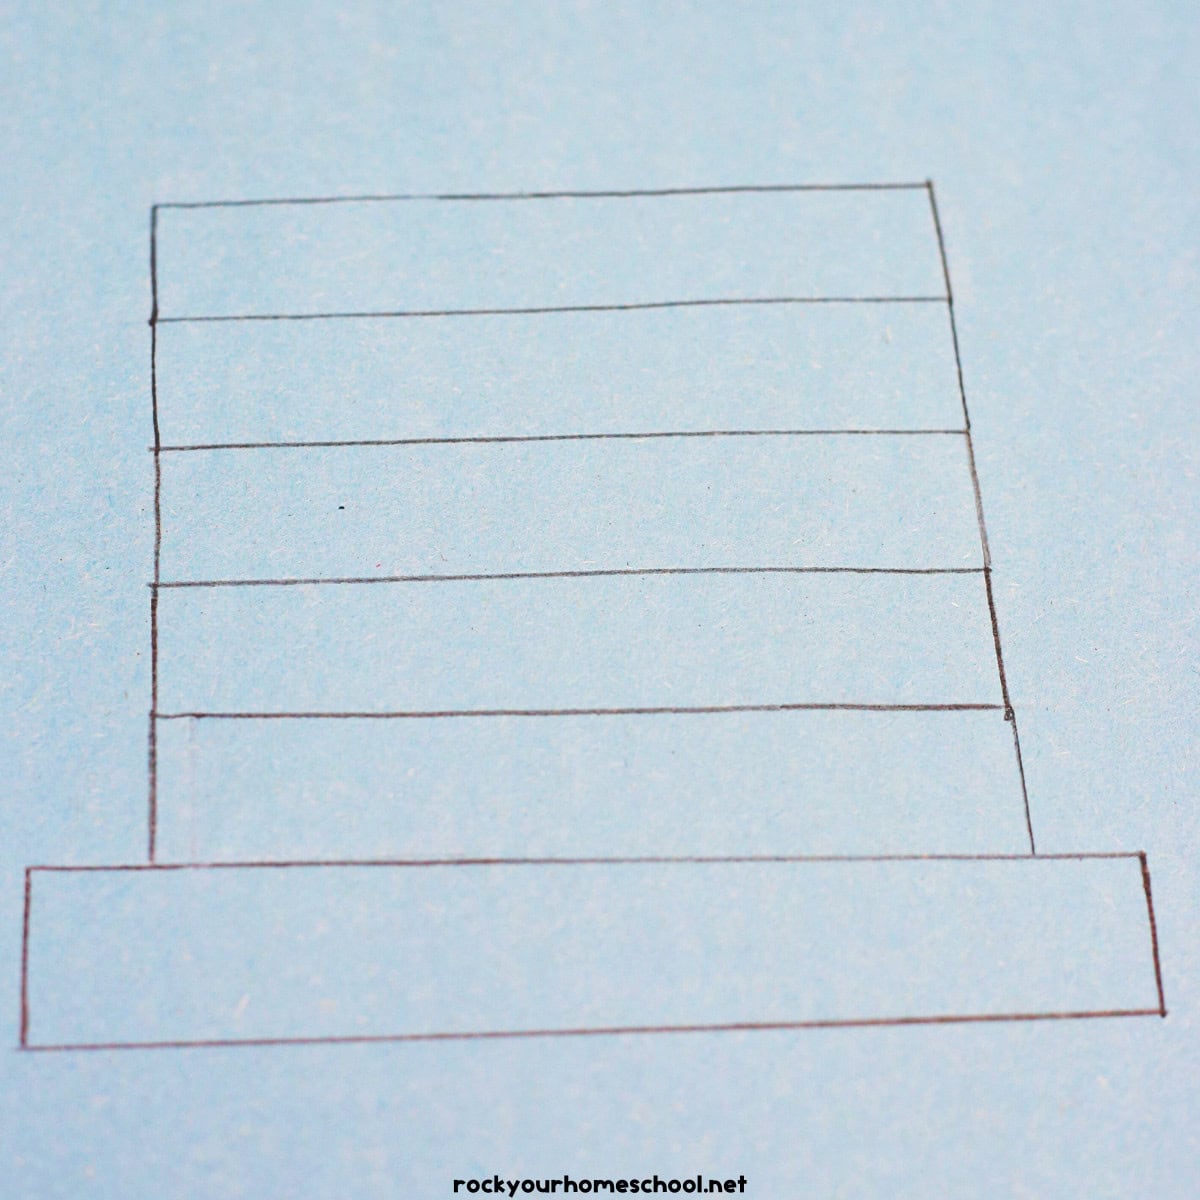
Prepare hat outline
Use a pencil and ruler to draw the outline for the hat on the blue paper. The brim should be wider than the rest of the hat. Draw lines across the hat to divide it into six sections, including the brim.
OR use the FREE printable templates found at the bottom of this post!

03
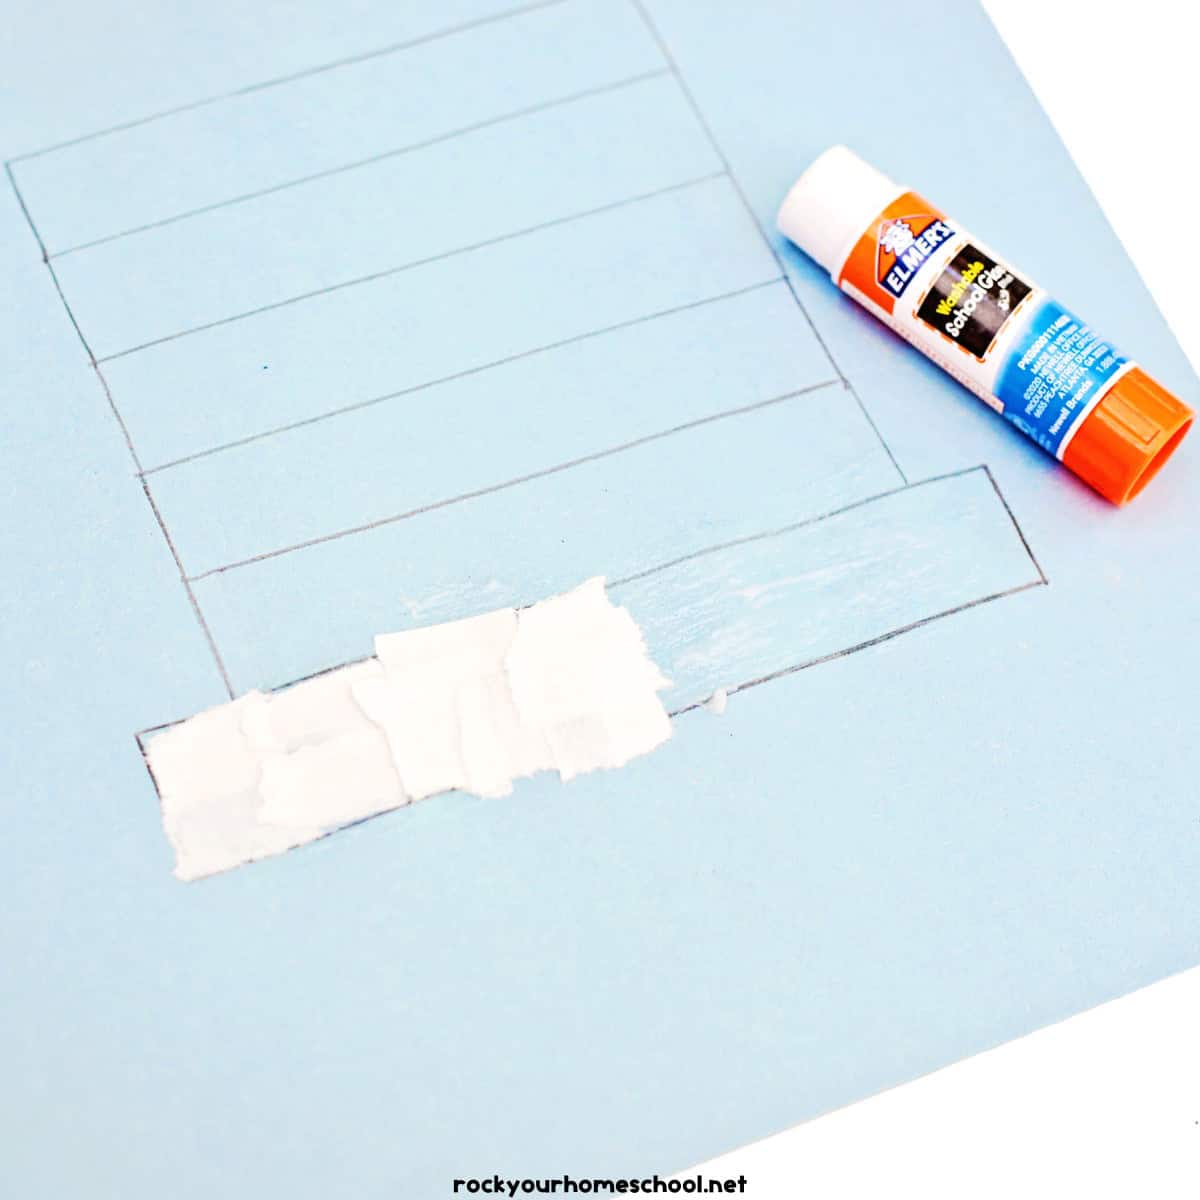
Add paper pieces
Glue one section at a time and stick the torn papers to it. Start with white on the brim and alternate colors for each section going upward.
Ideas for Using This Simple Craft
This DIY Dr. Seuss paper craft is a sensational option for:
- Storytime activity
- Dr. Seuss birthday celebration
- Letter “Hh” craft
- Dr. Seuss or The Cat in the Hat-inspired party
The free printable hat templates (find below) make it easy to get started. You can print on light blue paper OR leave white (or whatever color you use!). Another idea is to cut out the hat templates and trace onto light blue paper (light blue is often used for The Cat in the Hat themes).
If you are going to draw your own hat, I encourage you to use a ruler and pencil. It can be helpful to have this step done ahead of time. If you have older kids, they can do this step on their own and/or do to help younger siblings.
Before starting your craft time, chat with your students about this Cat in the Hat craft. Talk about the colors and pattern. Look at pictures from book for inspiration. Demonstrate how to tear the pieces (but don’t get too picky about sizes).
A cool idea is to make smaller versions of these hats. Fold a piece of construction paper in half and make the hat on one side. Use as the cover for a cute DIY Cat in the Hat card!

Get Your Free Cat in the Hat Printable Templates
High five! I’m so happy that you’re going to make these easy Dr. Seuss crafts with your students.
I hope these FREE printable striped hat templates make this simple craft even easier. Just click on the image below to get your set (includes 2 pages – first page has large hat and the second page has two smaller hats):
One last idea…add your child’s name and date to their hat so you can enjoy looking back on it as a keepsake (I know I have!).
I hope you and your kids a terrific time making this craft featuring The Cat! What ideas do you have for making and using these crafts? Please share in the comments area at the bottom of this post.


