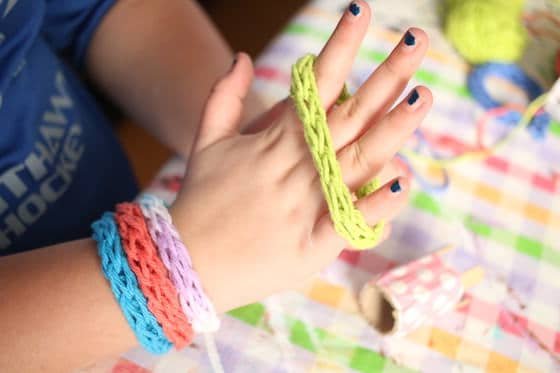
Toilet Roll Knitting, also known as french knitting, is a fun and easy activity for kids, and great way to learn the basics of knitting. In this post, you’ll learn how to make a cardboard knitting loom from a toilet roll, how to knit on the loom and how to cast off your stitches to finish your project. Jump to video tutorial.
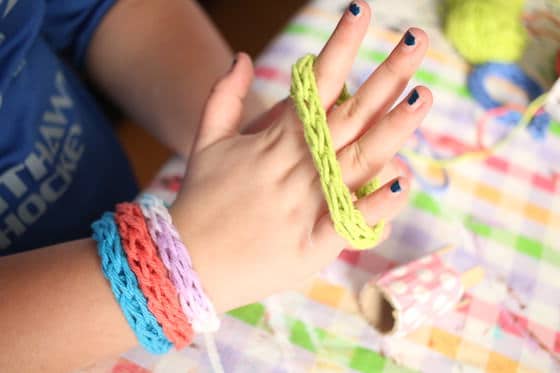
With a toilet roll loom, even the youngest crafters can knit friendship bracelets belts, doll scarves, yarn snakes and more.
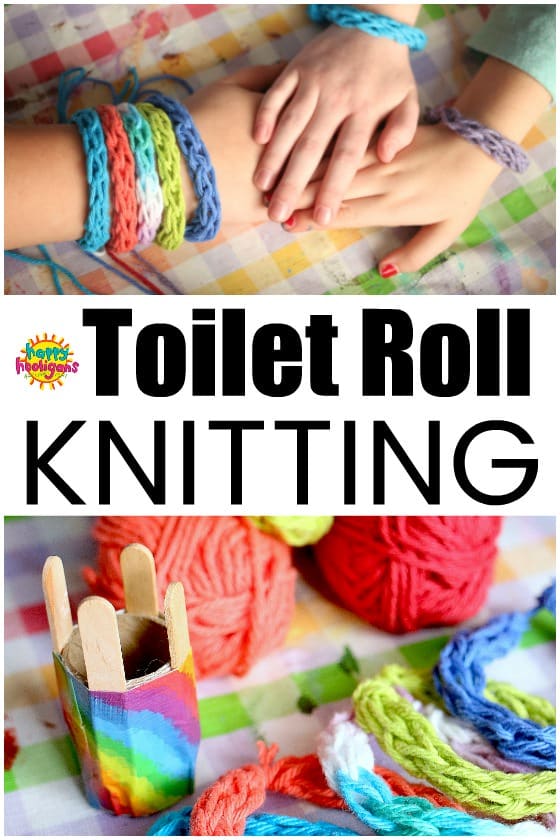

How do you knit on a cardboard loom?
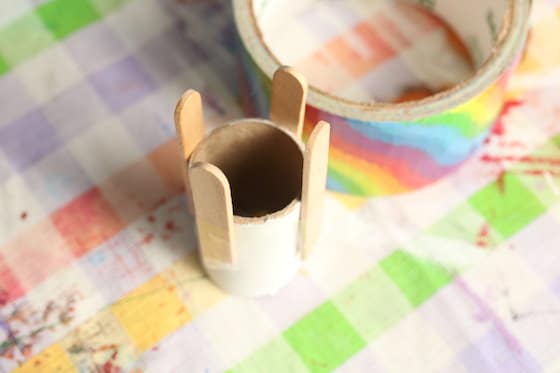
With toilet roll knitting, your loom is made with a cardboard roll and craft sticks. The stitches are formed by weaving yarn around the craft sticks and lifting the stitches over the stick with your fingers. As you work, your knitted stitches form a tube that’s fed down through the centre of the cardboard roll and out the bottom.
Your kids may also like this beginner sewing activity!

You May Also Like: Weaving on a Cardboard Loom, Stick Weaving, Circle Weaving on a Cardboard Loom and CD Weaving.
See all of our toilet roll crafts and activities here.
Remember Spool Knitting?
It’s just like the spool knitting we used to do when we were kids when we’d wrap yarn around nails hammered into the top of a wooden spool. You may have had a plastic spool knitting kit (that’s my Amazon affiliate link) when you were a kid too. I had one with spools in all different sizes. I loved it.
The hooligans love yarn crafts. We’ve done a ton of them over the years, and they’re really getting into learning how to sew too, so I thought it was about time to introduce them to knitting.
Not having any wooden spools or plastic french knitting kits on hand, I decided we’d give toilet roll knitting a try.
The looms were so easy to make, and worked perfectly, but we made one little tweak to ours which turned out brilliantly!
Let me tell you about that!

To Prevent Stitches from Slipping Off Your Knitting Loom
When kids are knitting with a loom made from toilet rolls and craft sticks, it can be a little frustrating because the yarn can easily slip off the craft stick when they’re making their stitches.
To solve this problem, I glued a small button to the top of each craft stick. The buttons act as stoppers, and prevent the yarn from sliding off the stick when you pull your stitch over the top.
This little trick works like a charm!
Let me show you how easy it is to make your loom and how to knit with it.
Watch this video for a full step-by-step tutorial:
How to Make a Toilet Roll Knitting Loom
For your conviencience, this post contains affiliate links. As an Amazon associate, I earn from qualifying purchases.
Supplies:
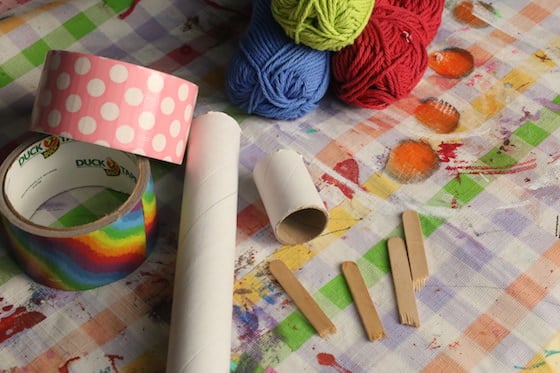

To Make Your Loom:
Cut or break 2 craft sticks in half, and position the 4 pieces evenly around your cardboard roll. With a hot glue gun, glue them in place with about 3/4 inch extending beyond the end of the cardboard roll.
Cover the roll with colourful duct tape and hot-glue a button to the top of each craft stick.
How to Knit with Your Cardboard Loom
You’ll need:
Casting on your stitches
Drop the end of your yarn down the centre of the cardboard roll, letting a 4-5 inch tail hang out the bottom.
Keep a gentle hold on this tail of yarn as you begin to cast on your stitches.
Working from the ball of yarn, wrap the yarn around one craft stick, once, in a clockwise direction, and then take your yarn to the 2nd craft stick, winding it once in a clock wise direction. Move on to the 3rd and 4th craft sticks in the same manner wrapping the yarn around them once in a clockwise direction. (see video above if you need clarification)
Nudge the yarn down to the bottom of the stick and start knitting!
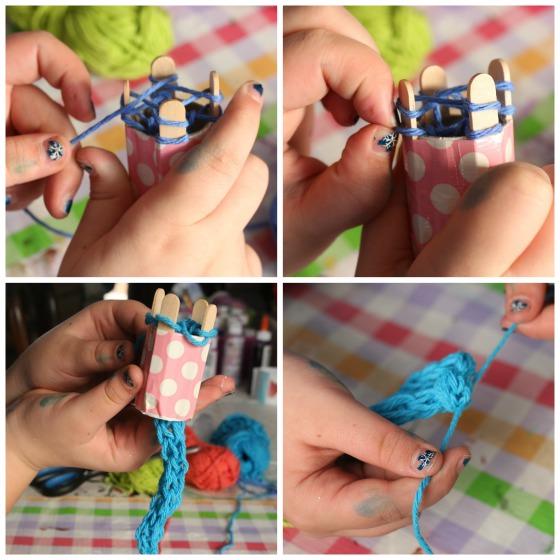

Knitting your Stitches
Lay your yarn across the first craft stick, just above the stitch that you cast on.
With your fingers or a wooden skewer, hook the lower stitch and gently pull it out over the stitch above it, and all the way off the craft stick. let it fall to the other side of the craft stick. Gently pull the tail of the yarn to tighten the stitch a little.
Continue around your loom, doing the same with each craft stick: lay the yarn across, pull the bottom stitch up and over the yarn above it and off the end of the stick.
Remember to give the tail of yarn a tug from time to time to tighten up the stitches.
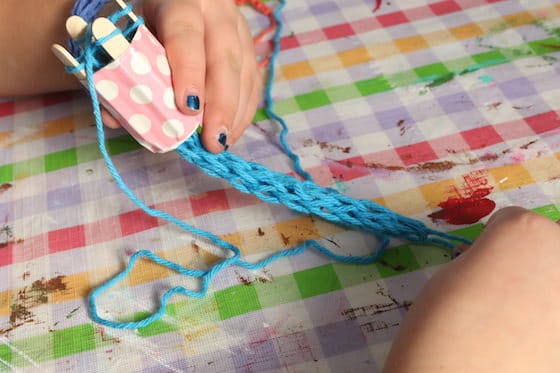

Continue with this form of french knitting until your project reaches a length that you’re happy with.
Casting Off
When you reach the end of your project, you’ll need to cast off your stitches in a way that secures them, and keeps your project from unraveling.
Cut your yarn, leaving a tail at least 6 inches long.
Thread a sewing needle with this tail.
Each of your craft sticks should have just one stitch remaining on it, and these stitches will form little loops once removed from the sticks. Slide the sewing needle up under one of the stitches and slip the loop off the craft stick.
Proceed around the loom, until all of the stitches (loops) are off the loom, and on the yarn on your sewing needle.
Gently pull on the tail and the loops closed, and tie a knot close to the loops to secure everything in place.
Tie a similar knot at the opposite end of your knitting.
Your toilet roll knitting project is complete! What will you make with it?
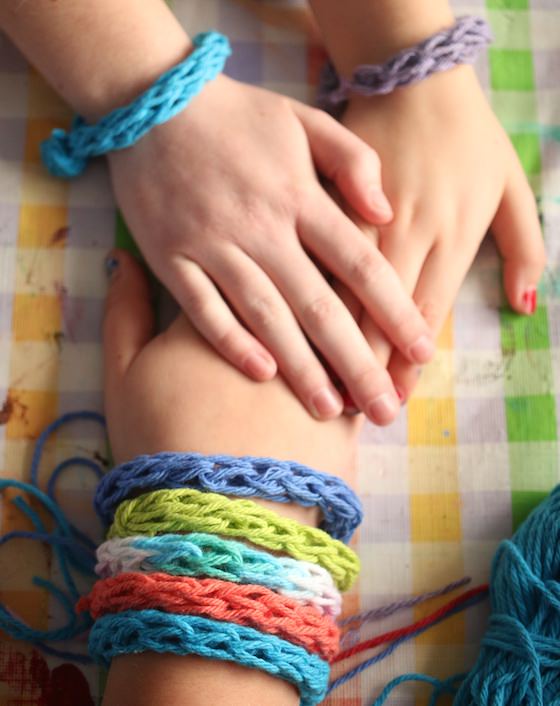

What Can You Make with Toilet Roll Knitting?
Kids can make their knitted tube as long or as short as they’d like, and they can make lots of different things with them. We made friendship bracelets today, but kids can also use toilet roll knitting to make a headband, necklace, doll scarf, skinny scarf, belt, or any number of cute and creative decorations.
More Yarn Crafts for Kids:


Jackie is a mom, wife, home daycare provider, and the creative spirit behind Happy Hooligans. She specializes in kids’ crafts and activities, easy recipes, and parenting. She began blogging in 2011, and today, Happy Hooligans inspires more than 2 million parents, caregivers and Early Years Professionals all over the globe.


