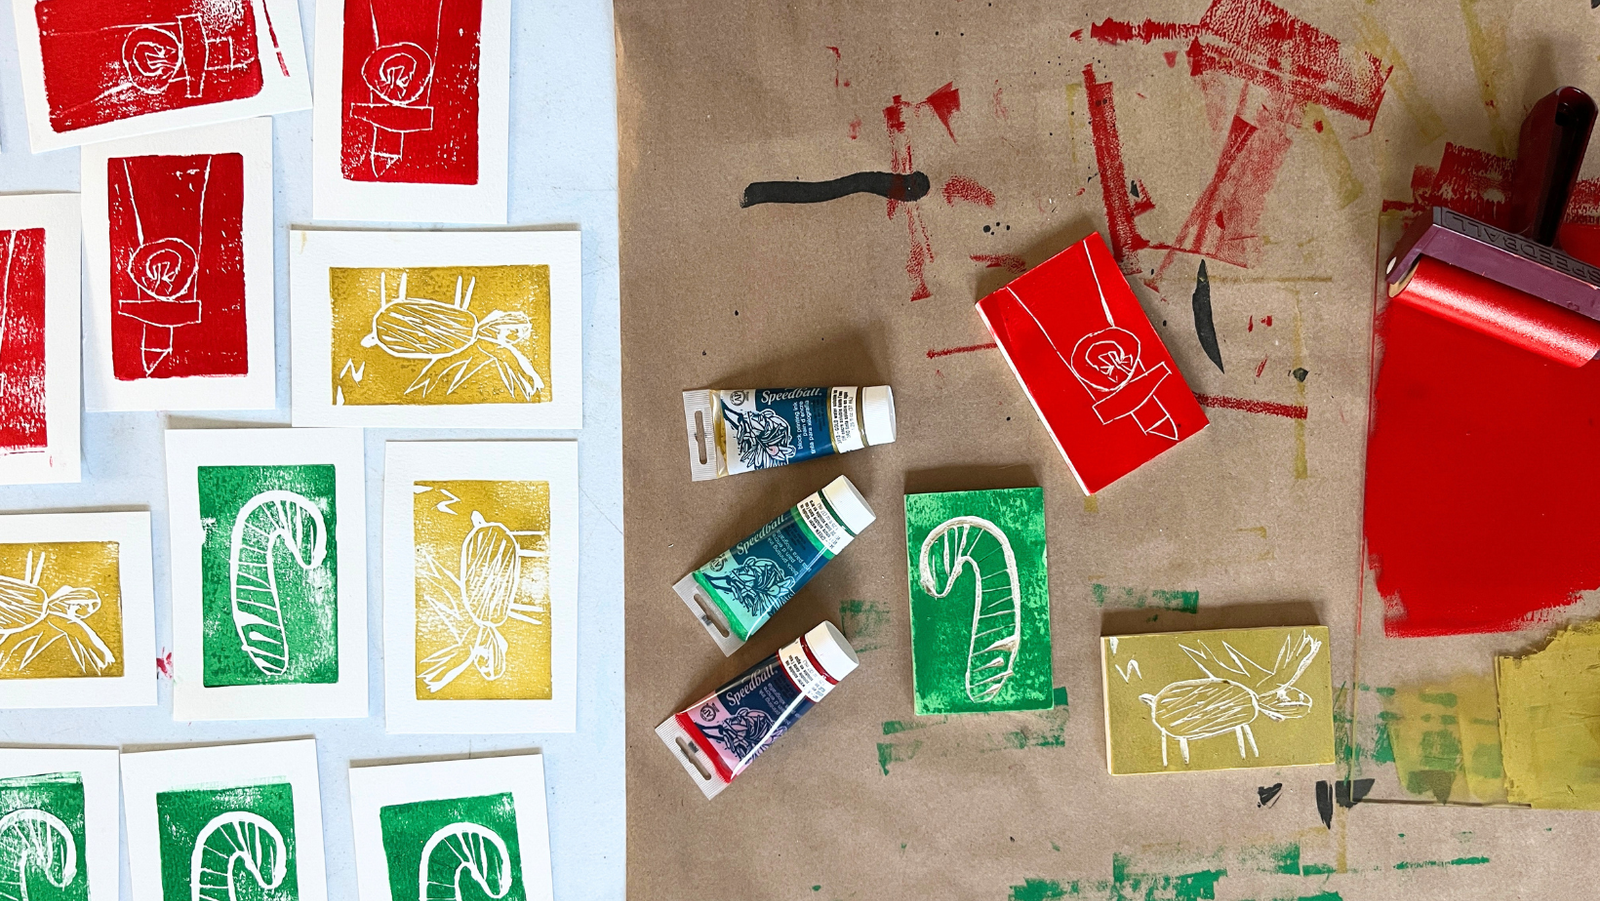
Learn how to make your own DIY stamps with rubber printing plates. Then print festive, homemade holiday cards for kids.
This will be our third year carving our own rubber DIY stamps and printing handmade Christmas cards. It’s become a tradition with my 6- and 8-year-old that I look forward to each year.
Our first year started simple as the technique was totally new to us. (We printed with styrofoam as well.) Last year, we became more comfortable with the process. I look forward to seeing my kids’ designs as each year goes by.
We hand these out for teacher gifts and to friends and family. And of course, I keep a few of each to look back on each year, and for decorations at the holidays.
We are by no means experts at this, but if you’ve been thinking about making your own DIY stamps, give it a try! It’s such a fun, unique process and once you get started carving, it’s hard to stop!
How to Make DIY Stamps

MATERIALS
- Speedball carving tools
- Brayer
- Rubber block
- Block printing ink
- Watercolor paper postcards
- plexiglass
Time needed: 2 hours
INSTRUCTIONS
- Sketch design
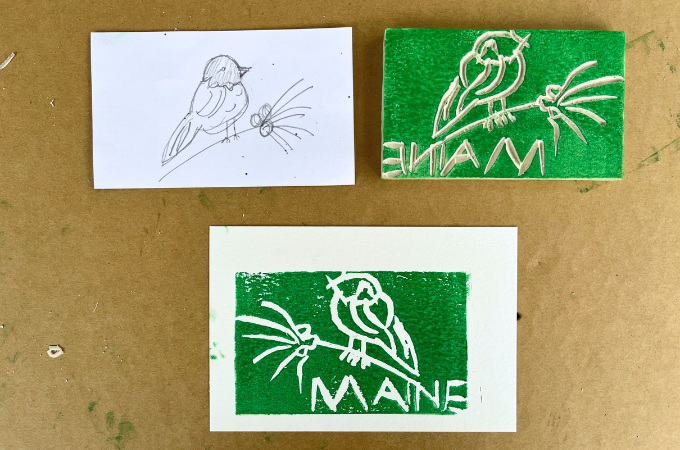
Cut a piece of paper to the same size as your rubber block. Make a few sketches until you’re satisfied with a design.
- Transfer design and begin to carve
We sketched our final design directly onto the rubber printmaking block.
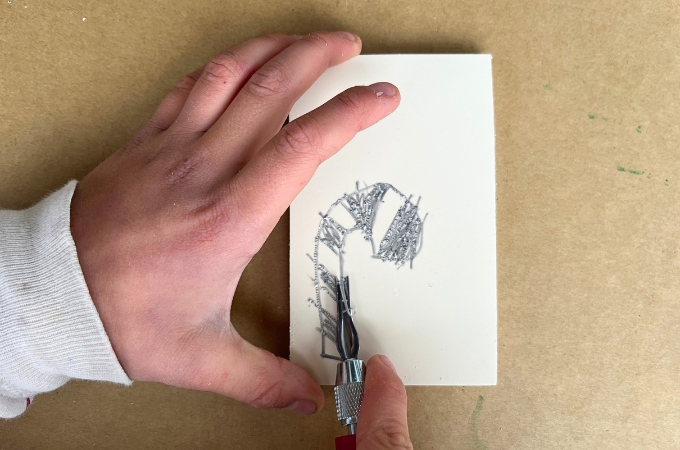
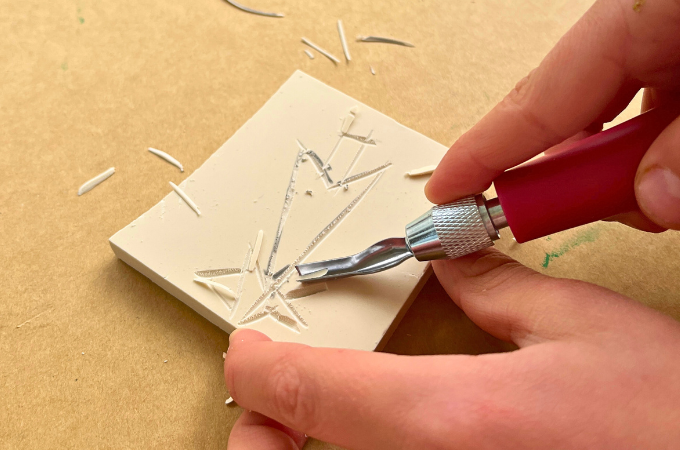
Carve the stamp by sliding the carving tool (as pictured) along the rubber block.
- Continue to carve your DIY stamp
Carve away any undesired parts of your stamp until you’re happy with the finished design.
- Prepare the ink
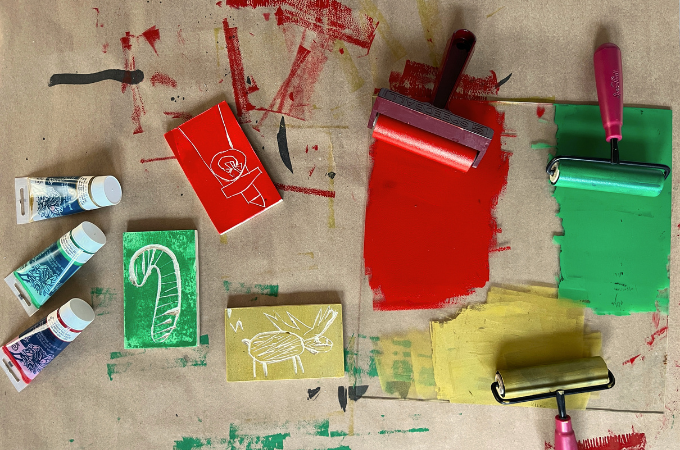
Squirt a small amount of block printing ink onto a piece of plexiglass. Roll the brayer over the block printing ink and spread it until a smooth, even layer is left on the plexiglass surface.
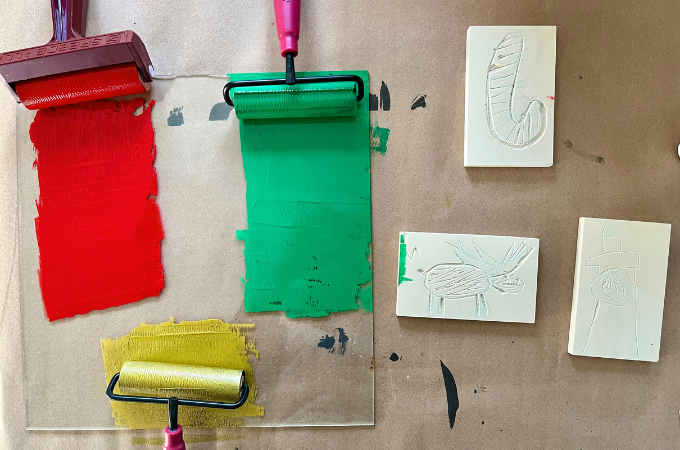
Now roll the inked brayer over your rubber stamp. Roll it back and forth to ensure the stamps are evenly covered.
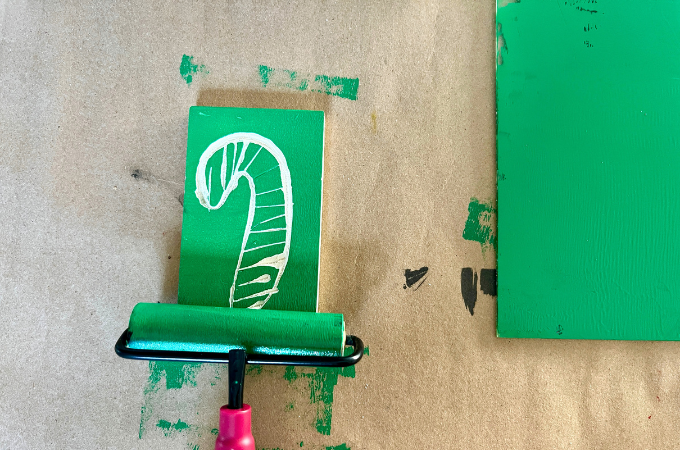
- Print your DIY stamps!
Lay out a postcard with clean hands. Then press the stamp firmly onto the inked plexiglass. Rub the corners and center of the stamp into the ink to ensure complete coverage.
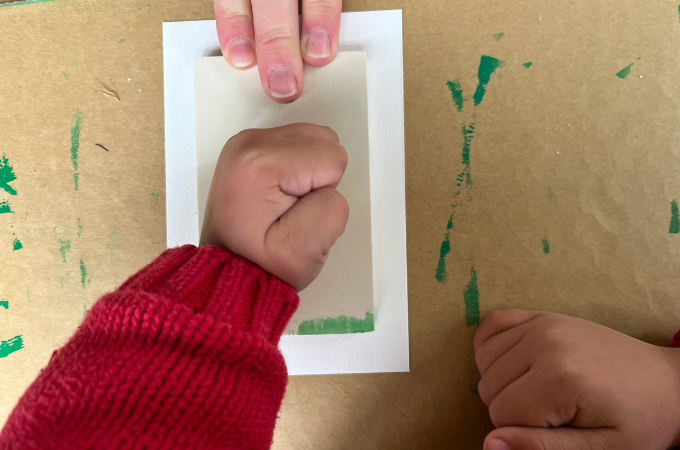
Now press your stamp firmly onto the paper postcard and rub all over. Be sure not to let the stamp slide around at this stage to ensure a clear print.
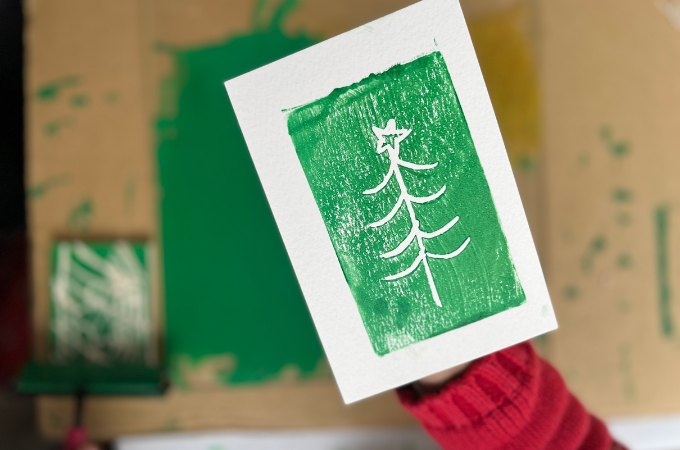
Then, slowly lift up the stamp to reveal your print!
- Repeat!
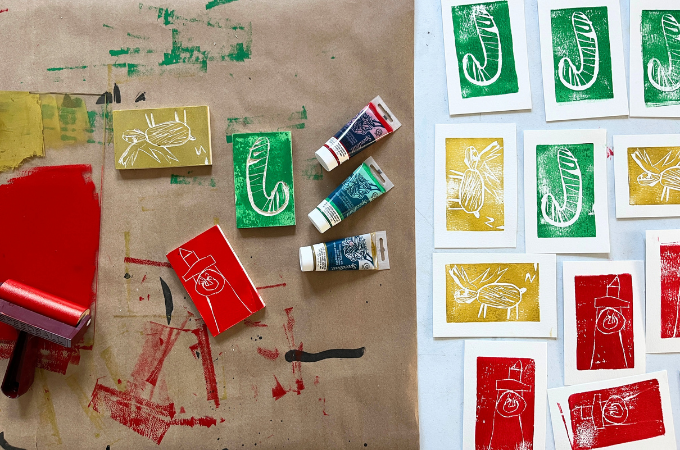
You can continue printing your stamp or if you made multiple stamps, print your other designs too.
I hope you give these DIY stamps a try with your kids!
It’s a nice activity to do in late Thanksgiving or early December before things get busier with holiday activities. I like to set this up on our front porch and we spend a morning or afternoon together working on the stamps and printing together.
More DIY Stamps and Christmas Ideas for Kids
- How to Make DIY Wrapping Paper for Kids
- Potato Printmaking for a Handmade Christmas
- How to Do Christmas Printmaking for Kids
Pin It for Later
The post How to Make DIY Stamps for Holiday Cards appeared first on The Artful Parent.


