Get creative and make a message in a bottle art project for kids with sand and paper! Both in the classroom or at home this art project is great for kids between the ages of 4 and 8. This easy and fun art project is great for fine motor skills, and learning moderation and attention to detail. Kids love creating these and they get so creative with what message they put in their bottle to send out into the great big ocean!
Tiny message in a bottle sand art project
This project is adorable and super unique for each kid. This project really works on their fine motor skills. It teaches them to be careful as they fill the bottles with sand. They also have the tricky task of getting things to fit inside the bottle. This art project can be modified with different materials and sizes. You can seal the bottles or leave them as is so you can open it again to reveal the message.
Related: Make tiny cloths pin pirate dolls to carry your message in a bottle!
The message you put in this bottle can be anything! A drawing, a message to your future self, a message for a friend or family member, a map or even something silly! You can be creative with the message so that when you find it again it will be a big surprise. All the kids loved this art project and had so much fun making it!
This article includes affiliated links.
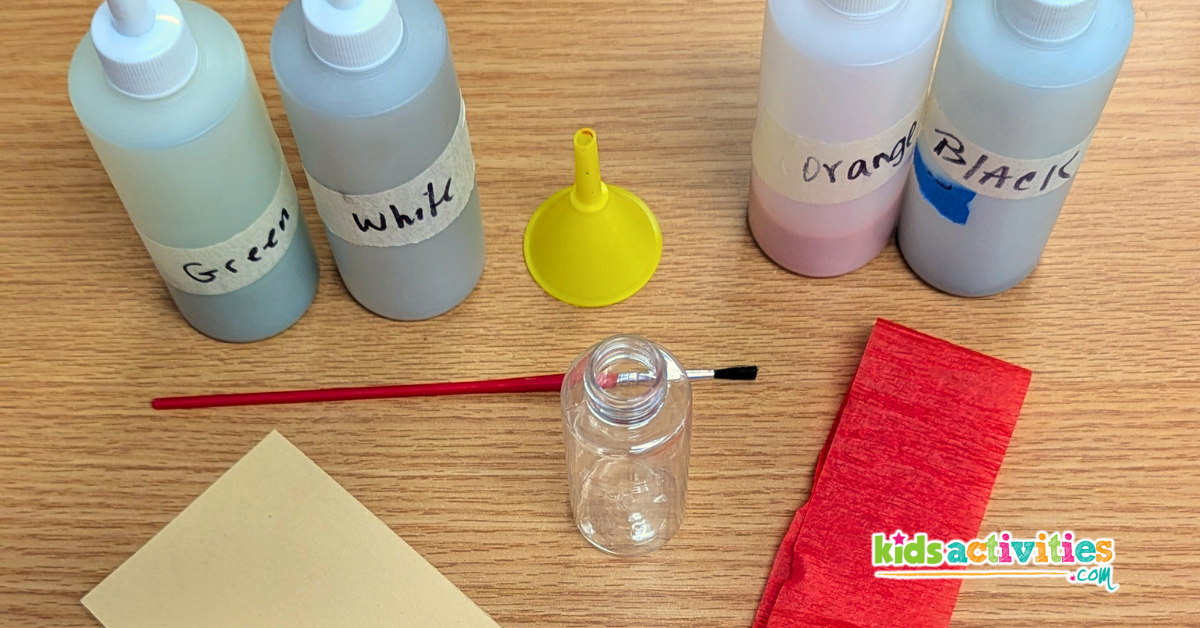
Supplies you need Messages in a bottle

Steps to make a message in a bottle
1: Fill the bottle with some sand and decorations

First of all, if you need a small funnel and don’t have one, you can make one out of paper! Here’s how to make one from Autodesk Instructables! Then you will place the funnel in the bottle, and add some sand, beads, tiny sea shells, glitter, or any other decorations you would like to add. Make sure not to fill it too much or the message may not fit! You can make tiny fish to live in the bottle with tissue paper by folding a strip of tissue paper in half, balling up one end, and twisting the center to create a tail.
2: Write a message, squeeze it in, and add a cap!

Then with some paper, write a tiny note, a map, a message, or a drawing. Then you will need to fold it up really small and roll it up so that it can fit in the bottle. If rolling it up to be small enough is too tricky you can try rolling it around a small stick like a pencil first! The last part of this project is to add a cap, then if you want to seal it with some glue or candle wax!
This is our message in a bottle art!


These were so cute and the kids loved this art project! They all made very unique messages and decorated their bottles differently with different colored sand and decorations. Some kids even glued some sea shells to the top of their bottles! The clean up for this art project was surprisingly easy since the funnels helped and the kids were all very careful about pouring the sand into the bottles. The trickiest part for these kids were fitting their messages inside the bottles but they worked on their problem solving skills and all found a way to get it to fit!
Prep Time
5 minutes
Active Time
30 minutes
Total Time
35 minutes
Difficulty
Medium
Estimated Cost
$10
Materials
- – Sand
- – Tiny bottles
- – Paper
- – Tissue paper (optional)
Tools
- – Markers or Crayons
- – Something to poke things in the bottle like a paint brush, skewer, or pencil
- – Funnel (you can make one from paper if needed!)
Instructions
- Add a funnel to the bottle and add sand, and other decorations. Make sure not to fill it too high or the message might not fit.
- Write a message, drawing, or map on a small piece of paper.
- Fold and roll up the paper so that it fits in the bottle and push it in with a small stick.
- Seal the bottle with a cap and glue if you want!
Kids Activities Blogs Sandy Activities
What kind of message is in your bottle? Tell us in the comments below!


