
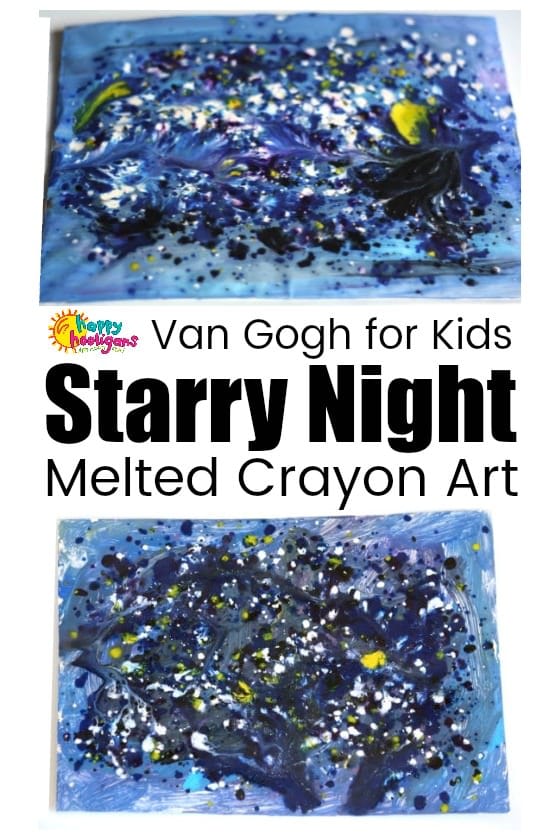
Melted Crayon Art is a fascinating way to make art and a great way to use up your broken crayons. With this easy Starry Night Art Project, kids will have fun melting crayons in the oven to recreate Van Gogh’s famous masterpiece on aluminum foil!
I’m really excited to share our latest daycare art project with you! The kids and I melted crayons to re-create Van Gogh’s “Starry Night”, and the results were incredible!
Related: You’ll also love our CD Galaxy Ornaments

Shout out to Dily Dali Art, whose melted crayon initials inspired this project.
I immediately wanted to try melting crayons with my daycare hooligans, but I wanted our project to be really unique. Yesterday, when I ran across our Starry Night jigsaw puzzle, my plan was hatched.
We would melt crayons to recreate VanGogh’s famous masterpiece.
Like so many of the art and craft projects we do here in my daycare, I had no idea how this would turn out until the end of the process.
The colours:
We chose colours that represented Van Gogh’s painting:
Blue and purple for the night sky, white for the stars, yellow for the moon and the lights in the distant village, and black for the silhouette of the trees.
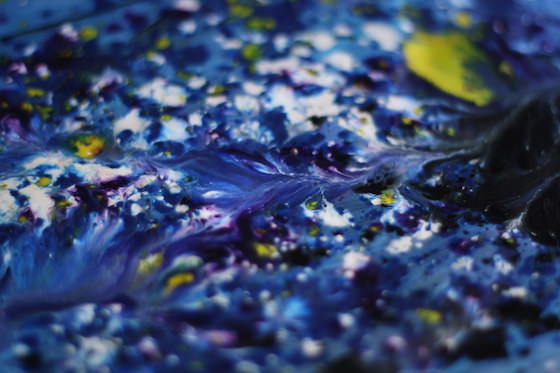
The way the crayon shavings melted and blurred together produced a better likeness to the famous painting than I ever could’ve imagined.
And the best news? It was really easy to do!
3 Easy Steps
This project can be done in 3 easy steps:
- prepare aluminum foil
- grate crayons onto foil
- melt in a warm oven
Below, I’ve described the process start to finish.

Begin with a brief lesson about Van Gogh’s Starry Night
This art project provided me with an opportunity to introduce my toddlers and preschoolers to the famous artist and his well-known masterpiece.
I began by showing the hooligans the picture on the front of the puzzle box and we examined the scene of swirling colours.
We also listened to the song “Vincent” (commonly known as Starry Starry Night”) written by Don McLean wrote about the troubled artist.
Then, we got down to creating our Starry Night scenes.
Starry Night with Melted Crayons
Supplies:
- cereal box
- aluminum foil
- Crayola crayons ( we used black, blue, yellow, white, purple)
- acrylic craft paint – (blue, black yellow purple and white)
- paint brushes
- cheese grater
- oven
How to Make Melted Crayon Art
Prepare your canvas
First, each child made a canvas by covering the panel of a cereal box with aluminum foil.
Then, I gave them a paint pallet filled with 4 shades of blue paint, and a shot each of yellow, black, purple and white. They used this to paint their canvases.
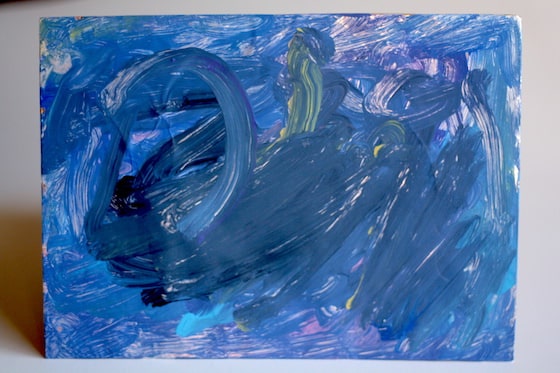

Some of the kids covered their canvases completely with paint, while some made only a few strokes. There’s no right or wrong way to do this. Allow your little one to decide when he or she is satisfied with their work.
While our paintings dried, we prepared our crayons for melting.
How to melt crayons in the oven
Begin by peeling the wrappers off your crayons.
Tip for removing crayon wrappers: the easiest way to peel crayons is to soak them in warm soapy water for a few minutes first. Just rinse and dry after soaking and the wrappers should slide right off.


Grate your crayons.
Older children will be able to grate the crayons themselves, but it was a difficult task for my preschoolers, so we agreed that I would do the grating.
I made piles of blue, purple, yellow, white and black crayon shavings for each of the children.
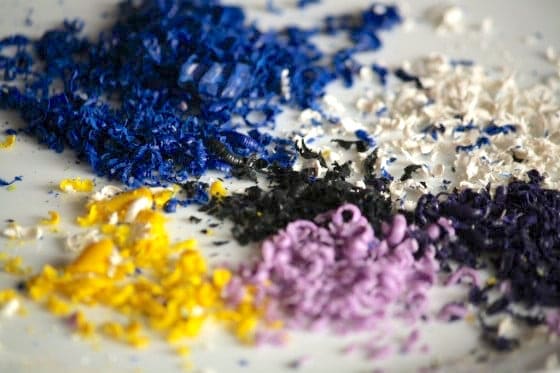

Next, sprinkle your crayon shavings all over your painting, leaving some space around the edges so they don’t run off the cardboard as they melt.
Before putting our art in the oven, our canvases looked like this:


Older children can strategically place their coloured crayon shavings where they want in order to achieve a certain look. Younger children can just scatter their shavings where-ever they wish.
Bake your art
Next, place your art work on a baking sheet and put it in the oven for 5 minutes at 200ºF.
When you take your painting out of the oven, be sure to keep it level because your wax will be very hot and runny.
Fascinating to observe
The melted crayon wax will take a few minutes to cool. While it’s cooling, have the kids observe this fascinating process.
Just out of the oven, the colours will continue to pool and run together, but within seconds, they begin to harden.
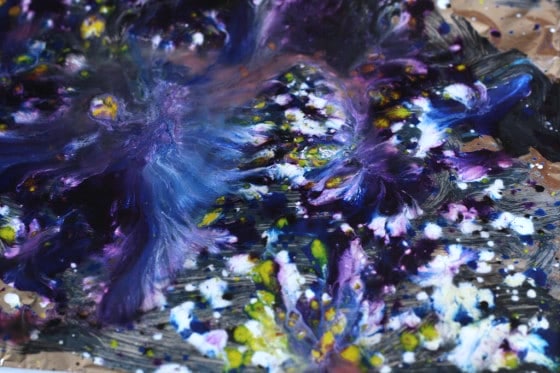

When our creations were completely cool our Starry Night art looked like this:
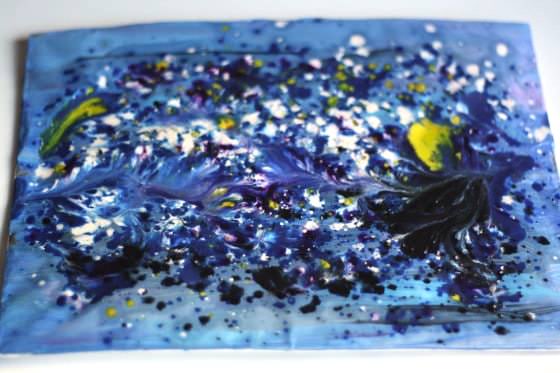

Aren’t they gorgeous?
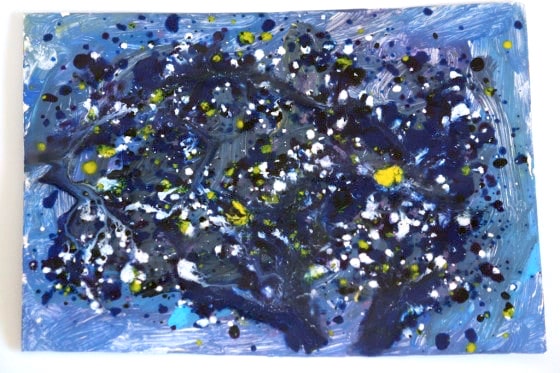

Take care not to bend your painting or your wax will crack. If this happens, don’t worry, you can just pop it back into the oven and melt it again.
Displaying your melted crayon art
We wanted to hang our Starry Night artwork on a wall, so I punched a couple of holes in the top of each painting, and added a dark blue piece of yarn so the hooligans would be able to display their masterpieces at home.

These Starry Night projects definitely something you and your child will want to display proudly!
**Edited to mention: several years later, the Van Gogh melted crayon art that I made on this day still hangs on our playroom wall, and it still looks as beautiful as it did the day I made it!
How to remove crayon wax from cheese grater:
I knew you’d ask!
You can melt the wax with a hairdryer and use paper towels and an old toothbrush to remove, but an easier way to remove crayon wax from your cheese grater is to pour a kettle of boiling water over your grater.
If you’re doing this over the sink, be sure to follow by pouring a kettle of hot water down the drain to flush away the wax. A better idea would be to put the grater in a pot of boiling water to melt the wax. Remove the grater and allow the water to cool so you can skim off the hardened wax.
One final alternative would be to not remove the wax at all, and assign this grater to the craft room for future melted crayon projects. 🙂
Time needed: 1 hour
How to Make Melted Crayon Art
- Prepare Your Canvas
Cover a piece of cardboard (i.e. the back or front of a cereal box) with aluminum foil and paint with poster paint or acrylic craft paint.
- Grate Crayons
Peel your crayons and grate them onto a plate or a piece of wax paper.
- Sprinkle Grated Crayons on Canvas
Arrange your crayon shavings on your foil canvas
- Bake
Place your foil canvas on a baking sheet and place in the oven for 5 minutes at 200ºF.
- Remove from Oven
Remove baking sheet from the oven, taking care to keep it level so you don’t disturb your melted wax design.
- Let Cool
Allow the melted crayon wax to cool completely before removing it from the baking sheet.
- Hang Your Art
Punch two holes in the top of your cardboard and string a piece of yarn through for hanging.
More cool art ideas for kids:
Get the 3-5 Playful Preschool e-Book!
25+ Preschool activities by 25 bloggers, 10 printables, PLUS 50 links to activities not featured in the book.
Click to download your copy now!
Follow the Hooligans on Facebook!


Jackie is a mom, wife, home daycare provider, and the creative spirit behind Happy Hooligans. She specializes in kids’ crafts and activities, easy recipes, and parenting. She began blogging in 2011, and today, Happy Hooligans inspires more than 2 million parents, caregivers and Early Years Professionals all over the globe.


