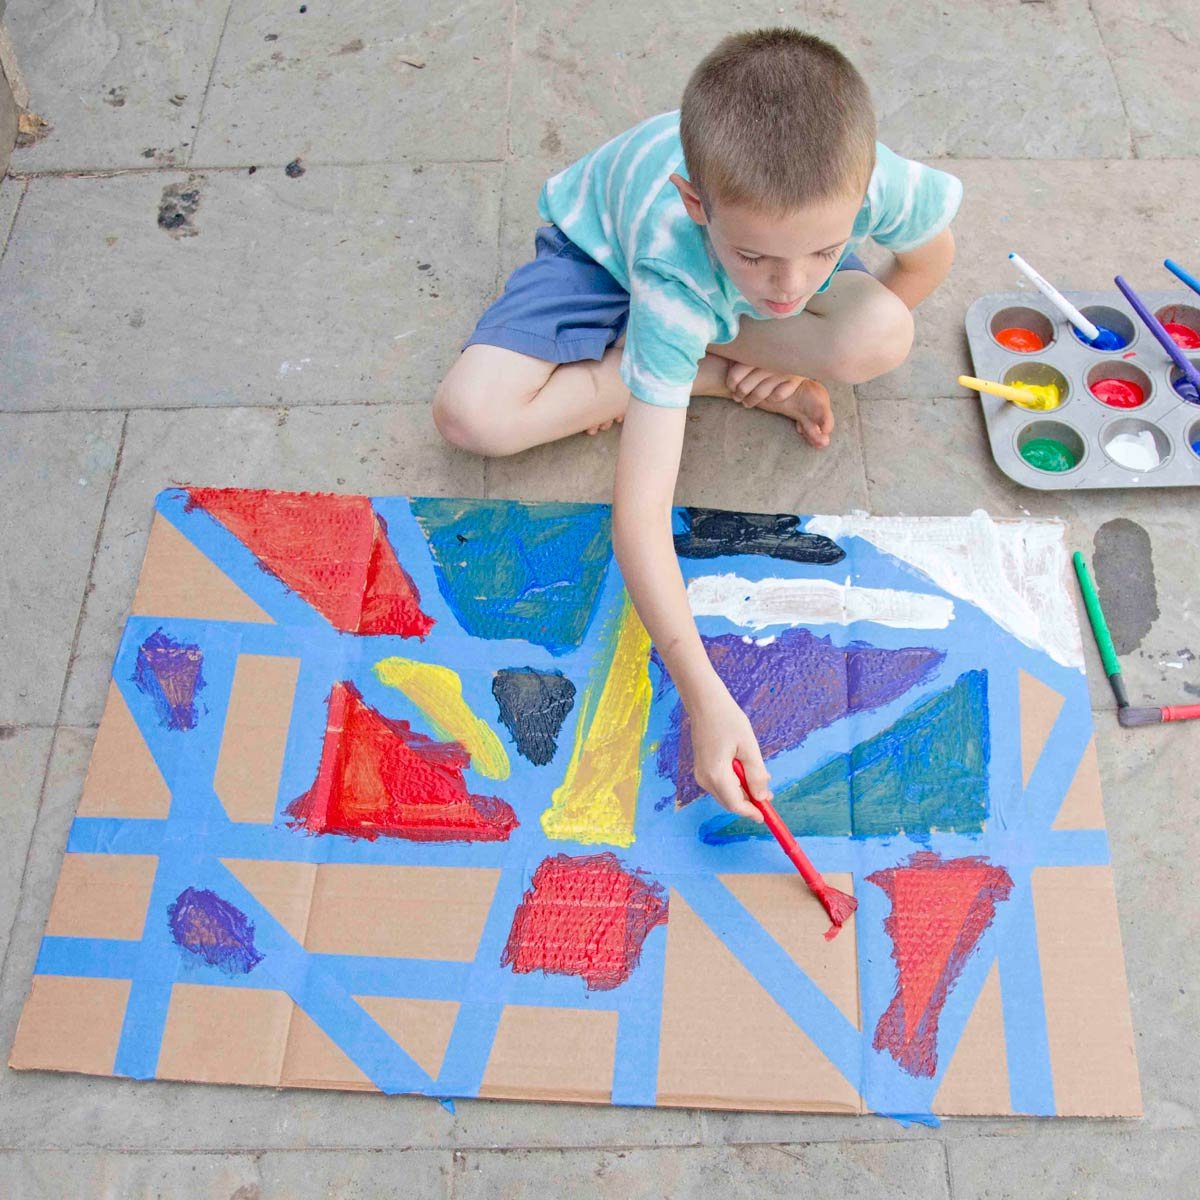
Looking for an easy outdoor art project? Try this tape resist art activity for kids. It’s easy, engaging, and holds little attention spans. Find out how to make this all-ages art activity (that every child can be successful with).


What is tape resist art?
Cardboard. Tape. Paint.
It’s a simple recipe for one very big masterpiece. Tape resist art is everything – I can’t wait for you to make this at your house.
Tape resist art is the process of using tape to create borders and negative space on an art project. When the tape is removed, the unpainted areas are revealed and a masterpiece is born.
And because it’s just paint on cardboard (and the tape makes the “design”), any age and developmental level can find success with this project.
Supplies
Busy Toddler is a participant in the Amazon Services LLC Associates Program, an affiliate advertising program. As an Amazon Associate, I earn from qualifying purchases. Read more about these links in my disclosure policy.
Now that’s a low-key supply list of just the basics. You probably have all these items at your house (and if not, consider looking at my list of 15 supplies to own and the 50+ set-ups you can make from them).
RELATED: Come check out my supply cabinet – it’s not as big as you’d expect (just a set of drawers in my laundry room!)


The Set-Up
Open a large cardboard box so it lays flay. Use tape to make shapes, lines, or even words.
If your child is old enough, let them help or be the lead at creating their tape design – my son is 7-years-old so he did a lot of this tape work on his own.
What’s amazing about this activity is that it’s perfect for even young toddlers – the end product, the final result, it works no matter what “level” of artist you’re working with.
It also makes a great gift on canvas if you need something fun to give grandma.


Let the painting begin!
As your child works on this activity, depending on their age, challenge them to use many colors. Encourage them to fill in all the shapes fully – the more paint the better.
Lay the project to dry and wait about 24 hours before starting to pull up the tape.
Sometimes the tape can start to pull at the paint so do be gentle, slow, and careful as you remove it. I also switch directions a lot and let the tape/paint show me which way it wants to be removed (as though it has feelings).
RELATED: Have an art-loving kid and need more summer painting ideas? Check out this fantastic list of art projects for kids.


