
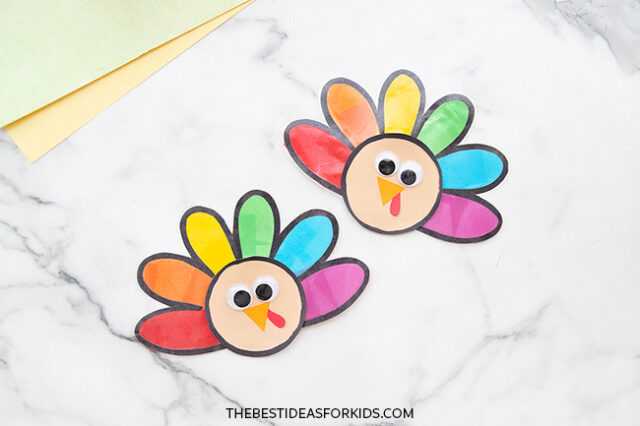
Make a keepsake craft for Thanksgiving by making this Turkey Suncatcher! These simple suncatchers use colored tissue paper and laminating sheets to create colorful Thanksgiving decorations that you can keep and reuse! Kids of all ages will love making these.
RELATED: Leaf Suncatcher
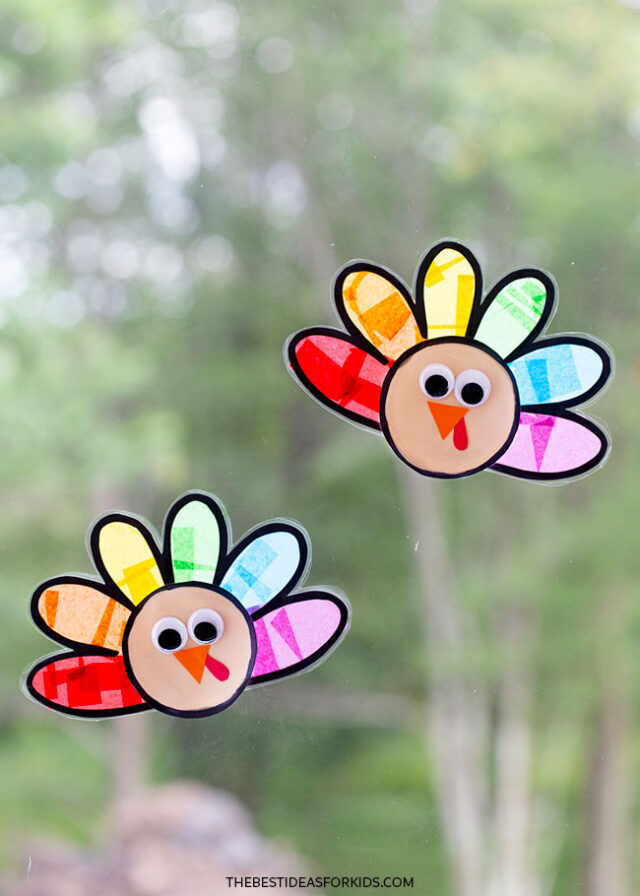

Kids will love creating a tissue paper rainbow across the turkey’s tail feathers. When hung in the sunshine, they make eye-catching and bright decorations. They can also choose any color they’d like for the feathers or mix colors!
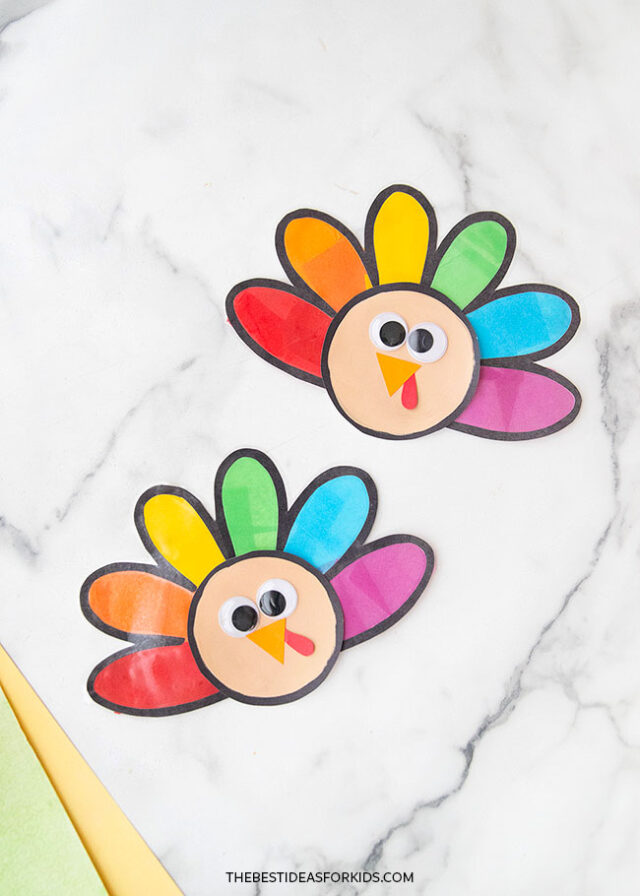

Make as many as you’d like and hang them together as a big colorful flock! You can even use a permanent marker and write things you are thankful for on the feathers.
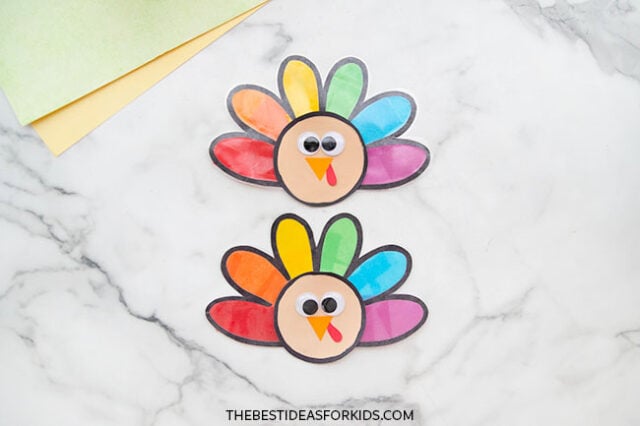

Supplies Needed
- Printable turkey template – get the template sent to you below
- Paint or markers – light brown, for the turkey’s face
- Clear Contact Paper or Self-Adhesive Laminating Sheets
- Tissue Paper – red, orange, yellow, green, blue, and purple. Cut into small squares (or you can buy pre-cut squares here)
- Paintbrush – medium sized
- Large googly eyes – these are 25mm size
- Scissors
- Colored paper – orange and red, for the turkey’s beak
- Glue – to secure the face details and assemble the suncatcher

Get the Template Here!
Get the Free Printable Template Here
Get the free printable template sent straight to your inbox. You’ll also receive our free weekly newsletter.
Already a subscriber? Don’t worry you won’t be subscribed twice!

Watch the Video Tutorial
How to Make a Turkey Suncatcher
1. Print out the paper turkey template.
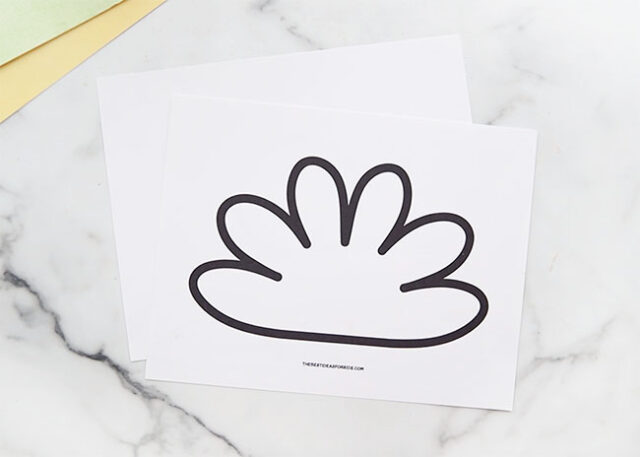
Print out the turkey template. You’ll need 1 tail and 1 head per turkey.
You can also draw them out yourself and cut them out from black cardstock.


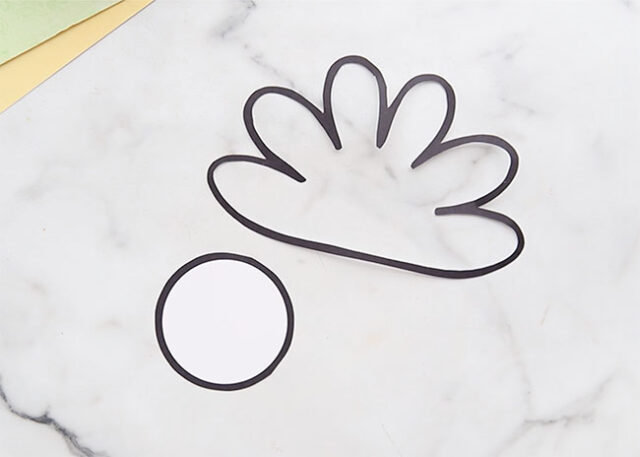
Use scissors to cut out the round head, only cutting around the exterior.
For the turkey feathers, cut out the outside and inside, forming a turkey tail feather frame. You can also use the template to trace onto black cardstock and cut it out.

2. Make the turkey head.
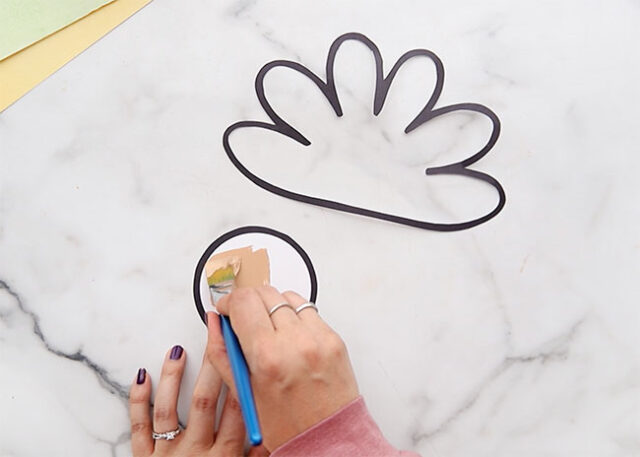
Paint or color the round turkey head with light brown paint and set aside to dry.

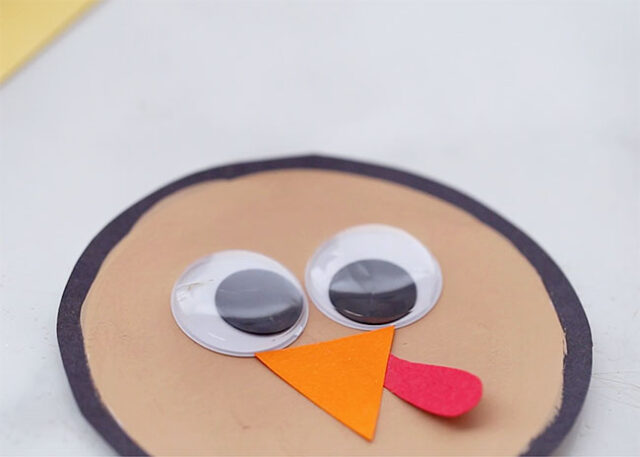
Cut a small triangle-shaped beak from orange paper and a teardrop shape (this will be the wattle) from red paper. Use glue to attach them onto the turkey head. Then glue 2 large googly eyes on.

3. Decorate the turkey feathers with tissue paper.
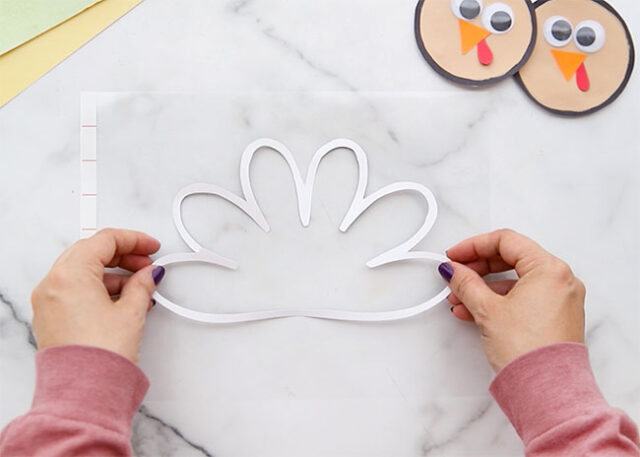
Peel the backing off of a self-laminating sheet. Place the adhesive self-laminating sheet sticky-side-up on your work surface.
Place the turkey feather template onto the adhesive, printed side down.

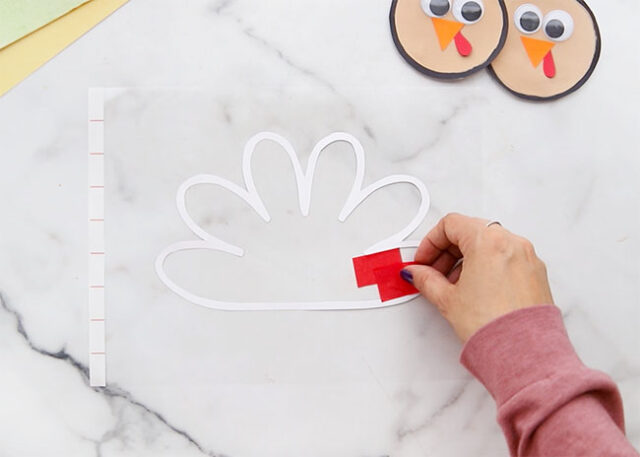
Place red tissue paper squares onto the tail feather on the right, overlapping the squares to fill the area.
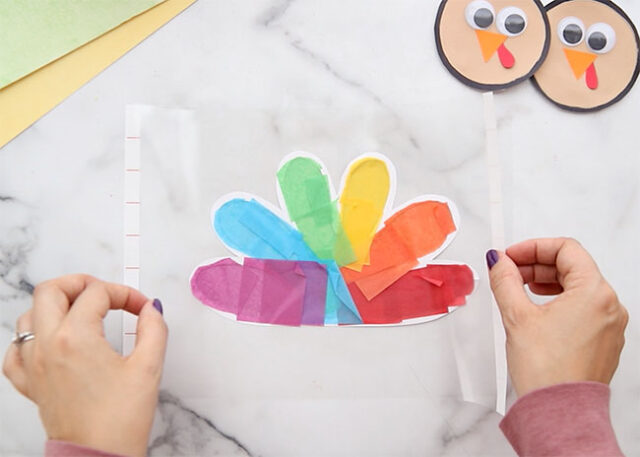
Repeat with the remaining colors. Kids can also mix colors on each feather or choose any colors they’d like!
Don’t worry if any tissue paper goes outside the template as you will trim this off later.

When the template is completely covered with tissue paper, place another self-laminating sheet on top and press all over to seal completely.

4. Assemble the turkey.
Use scissors to cut out the laminated feathers, leaving a thin edge of laminating sheet uncut along the outer edge of the frame.
Apply tacky glue to the back of the paper turkey head and glue to the laminated feathers.
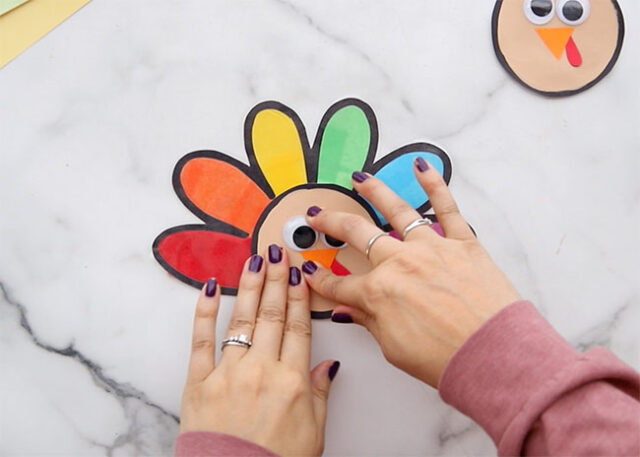

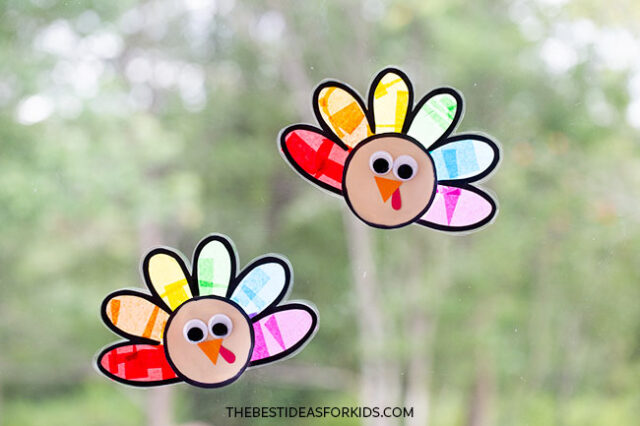
Your turkey suncatcher is now complete! Use tape to hang it in your window.

See more suncatcher crafts:


