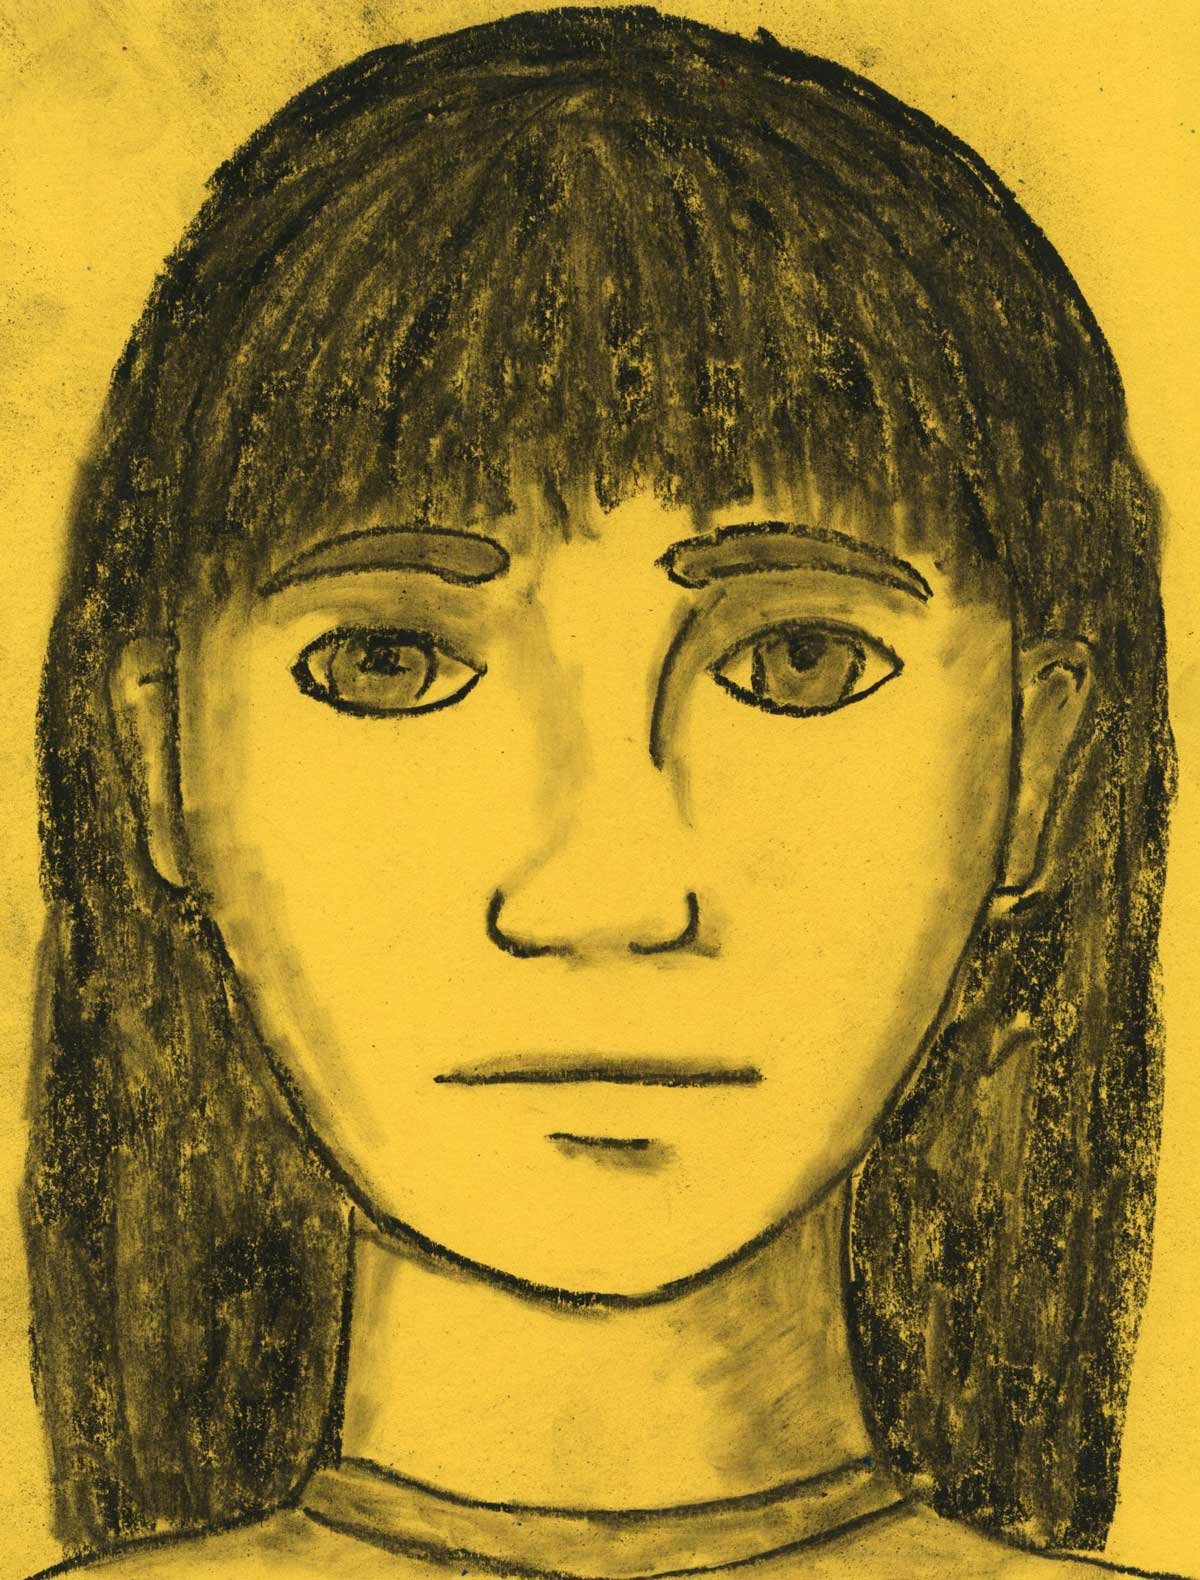
Below you’ll find a Charcoal Self Portrait project tutorial. It’s a great introduction to working with charcoal, for elementary students.
The upside to learning how to draw a charcoal self portrait is that you get a built in dramatic look, thanks to that dark black color that charcoal makes so well. Shadows are also a breeze to make, and only take a couple of swipes to create them.
The downside is that charcoal can be a bit messy and smudgy, but that’s a small price to pay for a really artsy looking self portrait, right? The trick is using it carefully, so as to make the most of that dark black color, with just a minimum of smudges. It can be done, if these tips are followed:
• Plan the head drawing first with a pencil, so it only needs to be traced with the charcoal
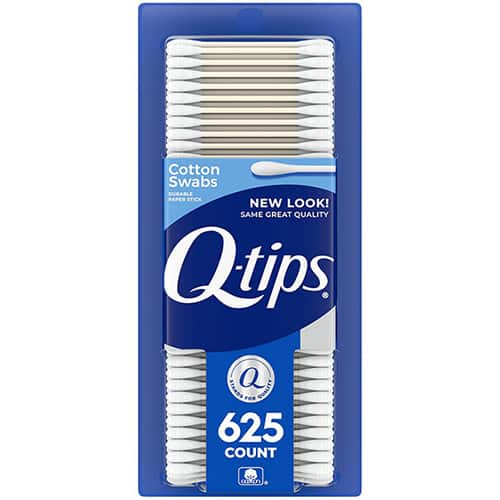
• Use a Q-tip to smear the chalk lines and spread the dust to make shadows
• Draw the hair last, as just fat lines that go over the head. Spread the color just a bit with the q-tip to fill in any gaps, and then … stop. Overworking and spreading things out TOO much will make the drawing mostly gray. The goal is to have a range of light to dark color. That’s what makes it interesting to the eye.
Use the button below to grab your free tutorial
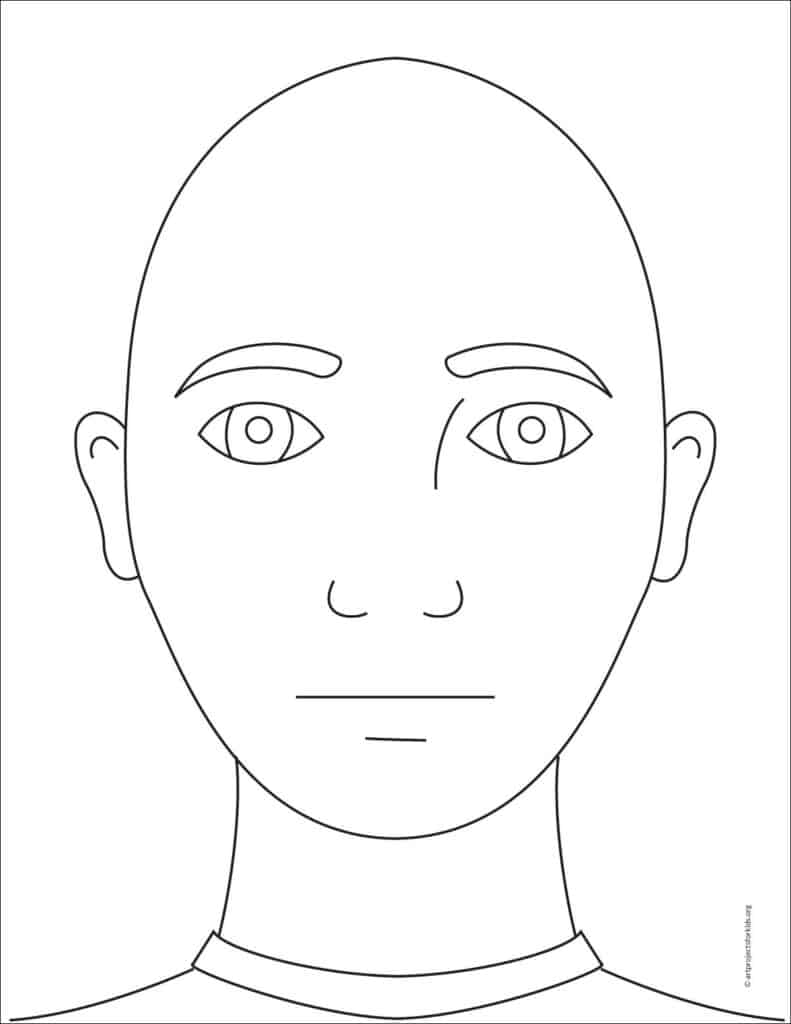
Charcoal Self Portrait Coloring Page
Materials
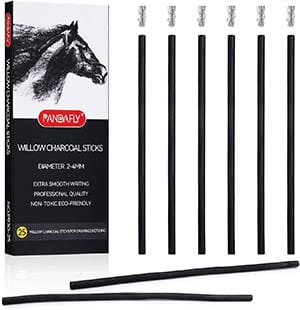
CHARCOAL STICKS*
Black Artist Vine Charcoal for Artists, Students, Great for Sketching, Drawing, Shading and Fine Art, 2-4mm, 25 Pack
* All of the above are Amazon affiliate links.
Directions
Time needed: 45 minutes
How to make a charcoal self portrait
-
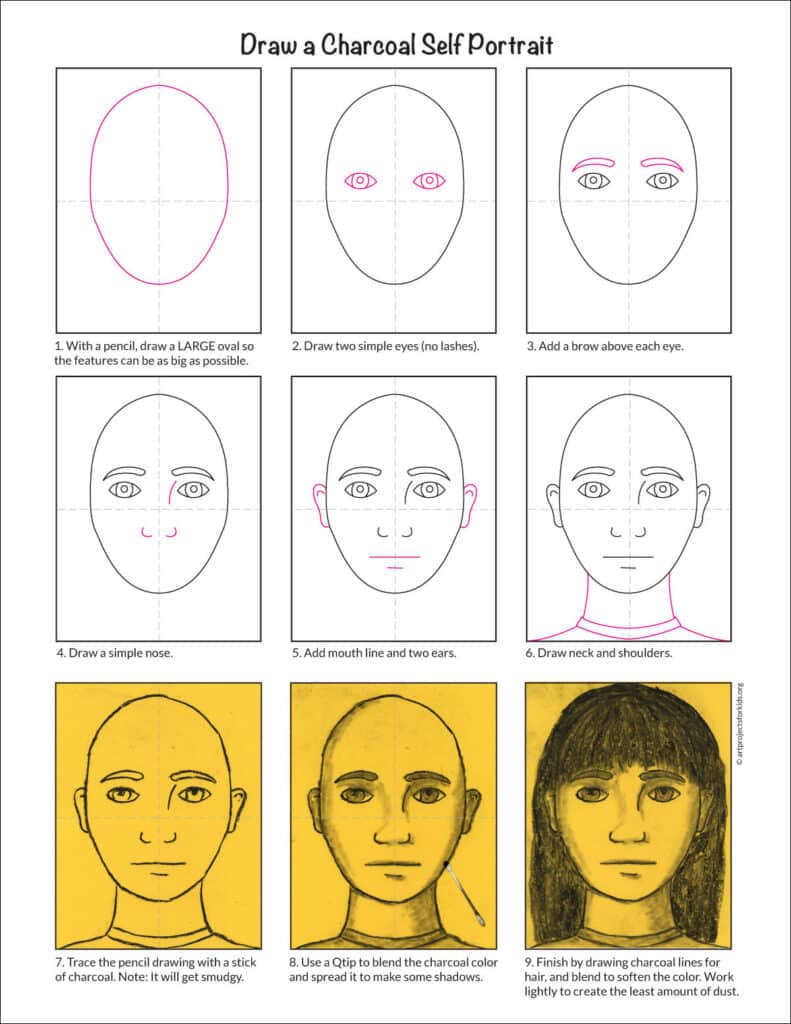
With a pencil, draw a LARGE oval so the features can be as big as possible.

-
Draw two simple eyes (no lashes).

-
Add a brow above each eye.

-
Draw a simple nose.

-
Add mouth line and two ears.

-
Draw neck and shoulders.

-
Trace the pencil drawing with a stick of charcoal. Note: It will get smudgy.

-
Use a Q-tip to blend the charcoal colorand spread it to make some shadows.

-
Finish by drawing charcoal lines for hair, and blend to soften the color. Work
lightly to create the least amount of charcoal dust.

